

You’ve worked hard planning out your campaign – establishing a timeline, setting goals, and getting to know your audience. Now it’s time for the really fun stuff – creating your products!
In this chapter, you’ll learn how to design quality products on Bonfire that your community will love. We’ll walk you through the entire process – from brainstorming your design ideas, to launching your campaign, and every step in between. We know you’re eager to get going, so let’s get this product party started!
Gather Design Inspiration
First things first, let’s pull together some inspiration for your design. A “mood board”, if you will. No pressure to actually create a physical mood board (unless that idea excites you, in which case we say, go for it!). You can build your collection of inspirations out in whatever way works best for you – on your computer, on your phone, in your notebook, etc. – just make sure it’s easily accessible, and make sure you have fun with it!
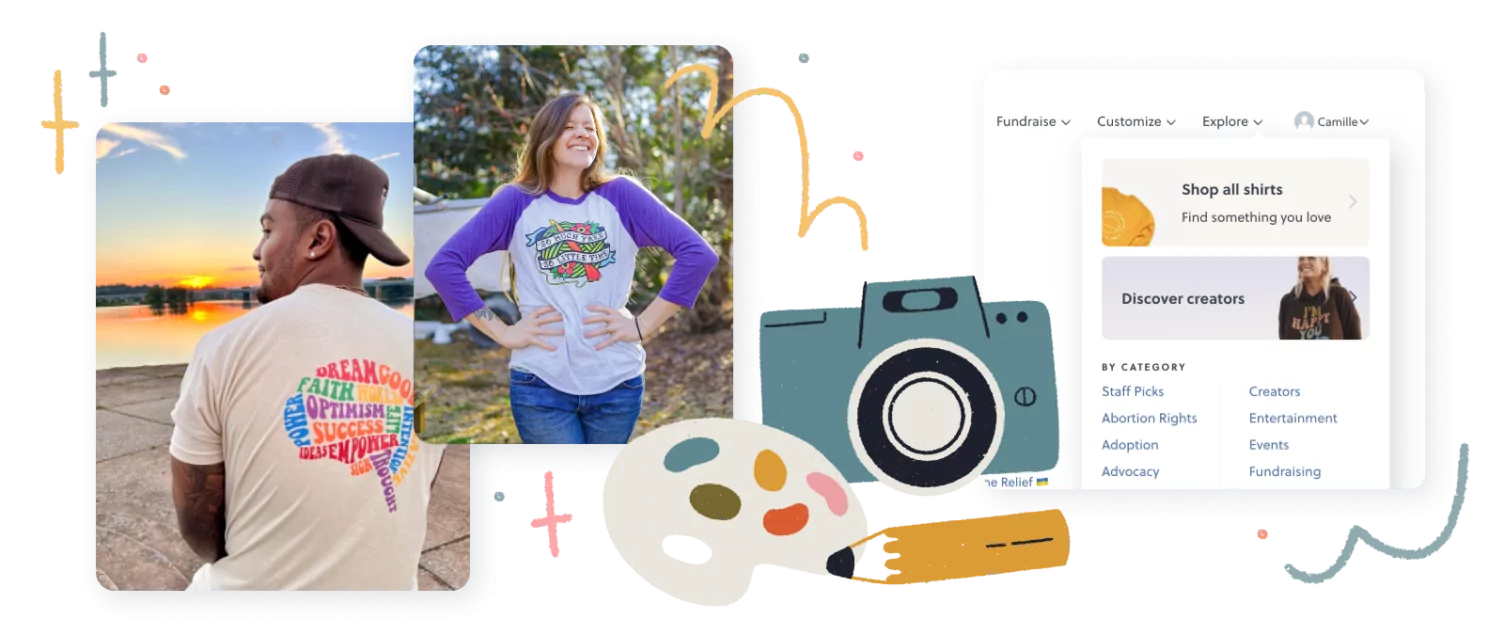
Start by browsing through the Bonfire Marketplace to view designs made by other sellers. Go ahead and save a few images of your favorite shirts and add them to your mood board. What is it about each of these designs that caught your eye? Do you find yourself drawn to a specific aesthetic, lettering, or illustration style? Pay attention to any similarities between your favorite designs. Spending time looking at a wide variety of designs from outside sources is a great way to figure out what you want for your design. You can also check out our curated collection of Staff Picks on our website and visit our Instagram to look at even more designs.
When saving inspiration images, focus on quality over quantity so that you don’t overwhelm yourself with design options. Trust your gut and choose the shirt designs that you think are the best of the best. Now that you’ve collected images to inspire you, let’s start to hone in on exactly what you want for your design.
Determine What to Include in Your Design
Let’s make a list of key elements that are important to include in your design. Here are some things to consider when putting this list together:
Are you creating a shirt for an organization and need to incorporate their logo? Are there specific colors that represent the cause or movement that you’re fundraising for? If you’re a Creator designing merch for your personal brand, do you have a recognizable catchphrase or slogan?
Think of any words, fonts, or imagery that will help tie your design and your overall brand aesthetic together in a cohesive way.
If you’re designing merch for a company or a nonprofit, make sure that all decision-makers have a chance to be involved and have a say in this part of the process.
Once this list is complete, you’ll be ready to start choosing your products!
Decide What Products You Want to Sell
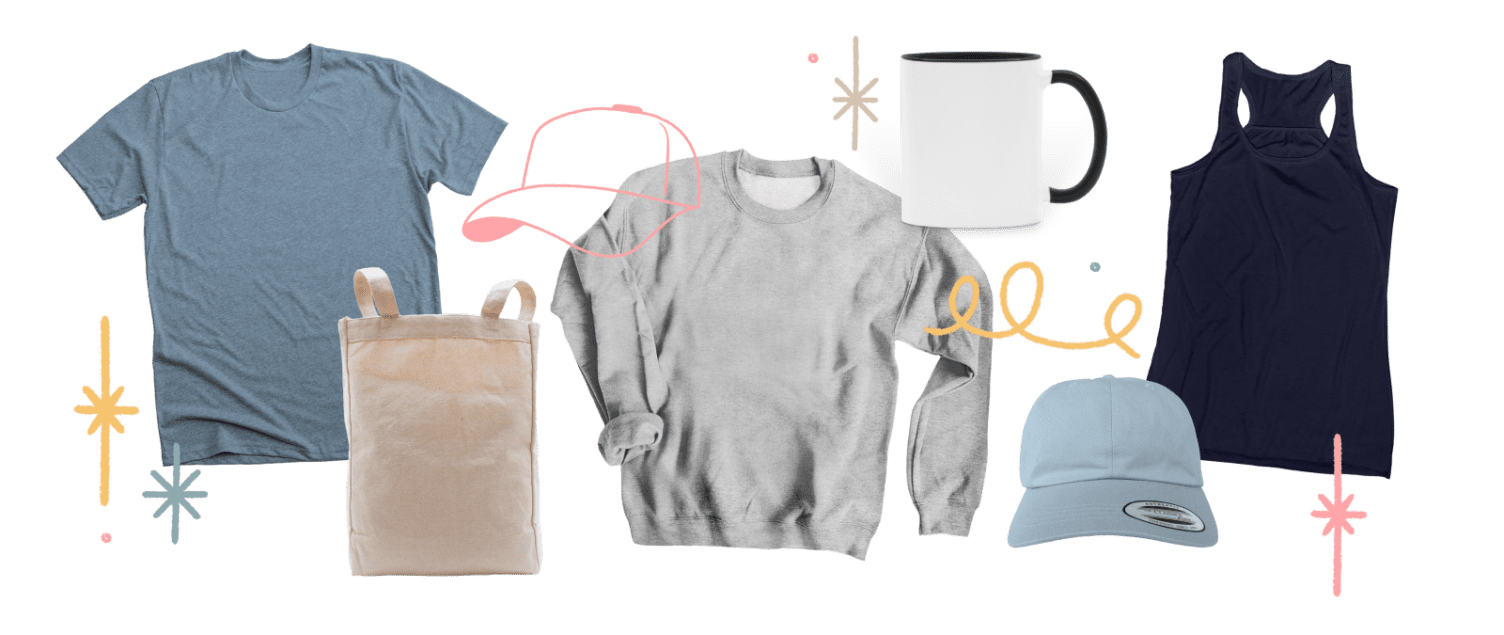
Bonfire’s product catalog is full of all kinds of incredible customizable products. Whether you’re looking for t-shirts, mugs, or tote bags – we’ve got you covered. Be sure to take some time browsing through our extensive catalog of products before making your final decision.
When choosing what products to sell, think back on what you learned about your target audience. What products would they be most likely to purchase? Have they voiced interest in any specific items?
If you’re creating merch for an event that’s taking place on a specific date, consider the weather, location, and time of year when picking your products. For example, tank tops might be an excellent option for a summertime event.
Learn More About Our Products


If your goal is to bring in as much funds from merch sales as possible, we’ve found that limiting product choices helps buyers avoid decision fatigue and therefore helps them convert at a higher rate.
Choose Product and Design Colors

Bonfire uses screen printing at higher volumes to keep costs down. The maximum number of colors supported by this printing style is 8. When choosing the colors for your design, keep this color limit in mind. We’ve seen lots of sellers have success (and bring in maximum profits) with designs that featured 1-3 colors.
Your desired color palette for your design will play a huge role in determining what products you offer. Each product in our catalog has its own predetermined color options.
When choosing merch to customize, consider which shirt colors will look best with your design. If your design features mostly lighter colors, it’s a safe bet to go with darker product colors. This will provide a nice contrast and help to showcase your design. The same is true for the reverse – if your design features mostly darker colors, it’s a safe bet to go with lighter product colors.
If you get stuck trying to decide which product colors are best for your design, you could ask your community or team members to weigh in on what product colors they like best.
Now that you have a good idea of what you want your product to look like, it’s time to start bringing your design to life!
Design Your Products

On Bonfire, there are 3 ways to design your products :
- Creating your design yourself.
- Hiring a designer to create the design for you.
- Using Bonfire’s free, customizable design templates.
Let’s take a closer look at each of these options so you can decide which one will work best for you.
Creating Your Design Yourself
Creating your own design is an awesome way for you to feel truly connected to the products that you’re offering your community.
Here are some tips to help you get the most out of creating your design yourself:
Read Bonfire’s Design Guides
Bonfire’s Blog is full of apparel design guides that can help you create and design your products! Read up on the latest t-shirt design trends, learn about our favorite font pairings that always go well together, and discover how to create an amazing-looking 1-color t-shirt design.
We also have specific guides on how to design a t-shirt, mug, and tote bag. If you have questions, we have answers. These resources will give you lots of tips, tricks, and ideas to mull over.
Utilize Current and Existing Assets
Here’s a great opportunity to work smarter, not harder – utilize already existing materials and assets. Reuse and repurpose creatives you already have, like brand logos and marketing illustrations. These assets already contain the styles, typography, and color palettes that resonate with your audience. If you’re creating custom shirts for your business or organization, sticking with the imagery and colors of your brand can be super important.
Use Eye-Catching Design Elements
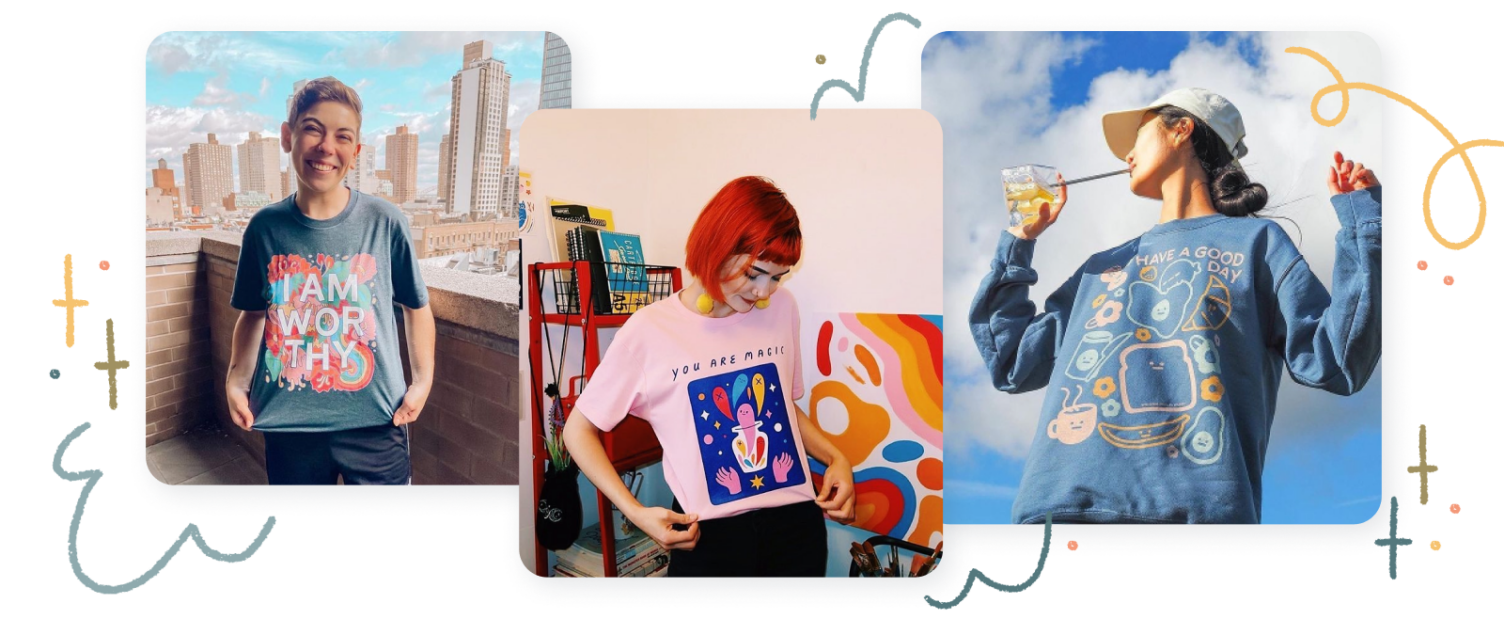
You want your t-shirt design to, quite literally, stand out in a crowd. You can achieve this by using eye-catching design elements such as bold typography, bright colors, and crisp imagery. If you plan on using text in your design, make sure it’s easily readable, even at a distance. For images, think “less is more” and focus on how you can simplify imagery to make an impact. Play around with design trends and get a feel for what looks good and resonates with your message.
Hiring a Designer to Create Your Design For You
If you’re finding it difficult to scrounge up the time or the resources to create your design, you might want to look into hiring a designer to get the job done for you. You could hire a designer within your community or take advantage of Bonfire Studio, our amazing in-house custom design team that can bring your design to life.

Working with our designers is incredibly beneficial because they are t-shirt design professionals who know all the ins and tips of what it takes to make awesome custom apparel. For as little as $49, you can get the concierge design experience of your dreams. You’ll send the design plan you pulled together, and our talented team of designers will work with you to create a design that fully embodies your vision.
Read more: How to Work With a Designer to Create a Custom T-Shirt
Using Bonfire’s Free Customizable Templates
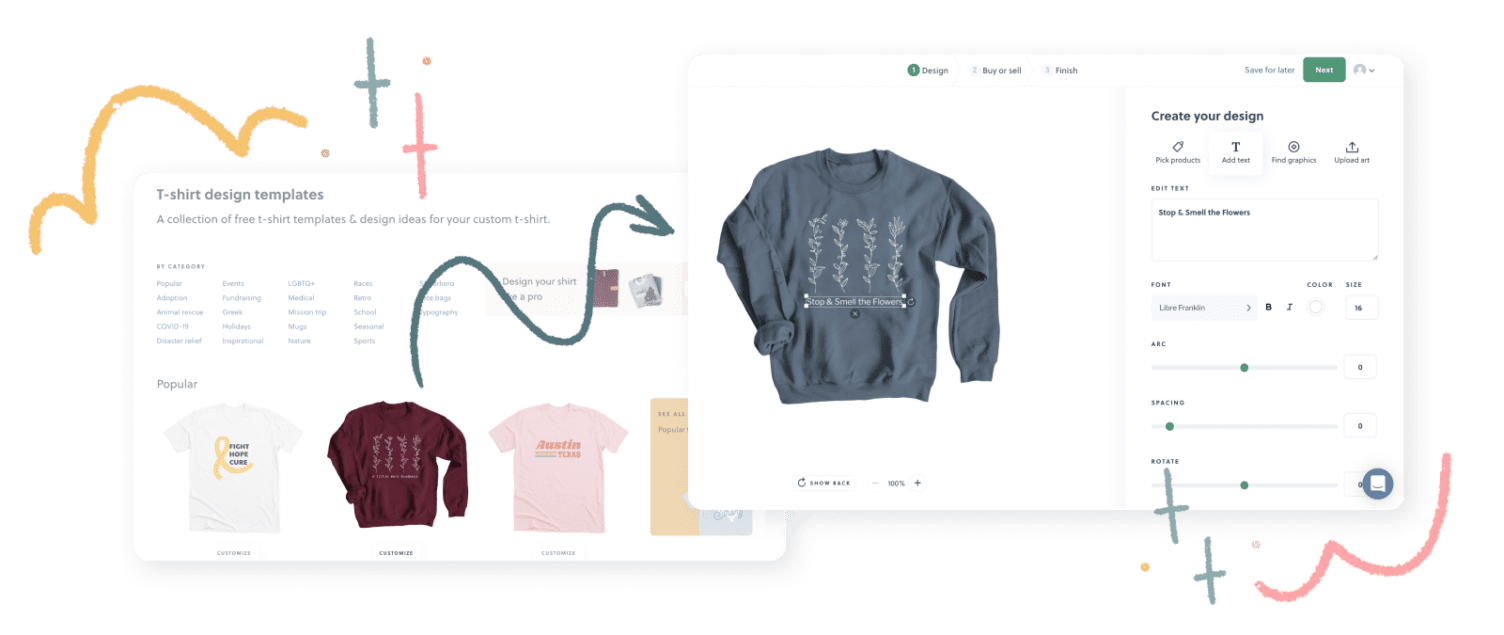
If you’re interested in getting a little design help, but still want to do the majority of the work yourself, you can use Bonfire’s design templates. We have a selection of over 1,000 free design templates you can use and customize to suit your needs. Using a template is a great way to ease into the design process while still being able to add edits to personalize your design to fit your brand or cause.
Bring Your Design to Life in the Design Tool

Once your design is ready, you can upload it into our Design Tool and start building your products!
If you’re uploading your own custom artwork, be sure to follow these design file recommendations:
- Upload an .AI or .EPS file with a transparent background
- Export your artwork from vector graphics if you can’t upload an .AI or .EPS file
- Use a print file that’s at least 1500px x 1500 px and 300 DPI (dots per inch)
Once you’ve uploaded your design, or created it from scratch right there in the design tool, you can then officially select your apparel styles and colors. Our t-shirt design tool makes it easy for you to test color options out and see what looks best. We’ve worked hard to make sure that the t-shirt images in our design tool match what the shirts look like in real life, so what you see online is exactly what you’ll get in person!
Take all the time you need to make sure you’re pleased with your design, your product selections, and the way they look together. You’re finalizing your design choices at this point, so make sure you’re happy. If you love the products you’ve created, your community will love them too!
Customize Your Campaign Page
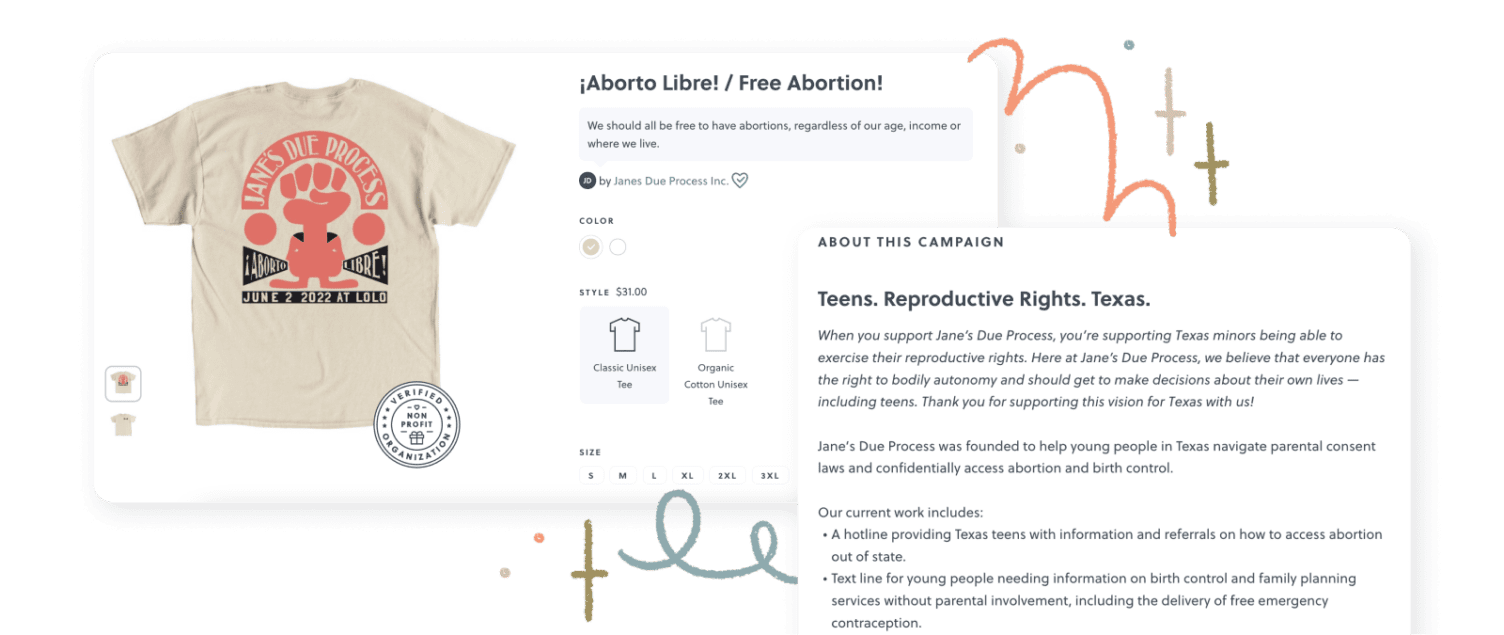
When you sell custom products on Bonfire, you get to customize your campaign page!
You can customize the campaign title, give the campaign a tagline, describe the campaign in the “About this campaign section”, choose featured products, and add images or videos.
The campaign page is where you get to offer your community more details about your story and the reasons behind your campaign. If your campaign is a fundraiser, include where the money will be going and who it will be helping. If your campaign is set up as a Giving Campaign, the name of the organization you’re fundraising for will be displayed next to an official Giving Campaign badge (a green heart). The more information you can include on your campaign page, the better.
Read more: How to Tell Your Story With Our Campaign Page Editor
Launch Your Campaign
The time has finally come for you to LAUNCH YOUR CAMPAIGN. Well done!
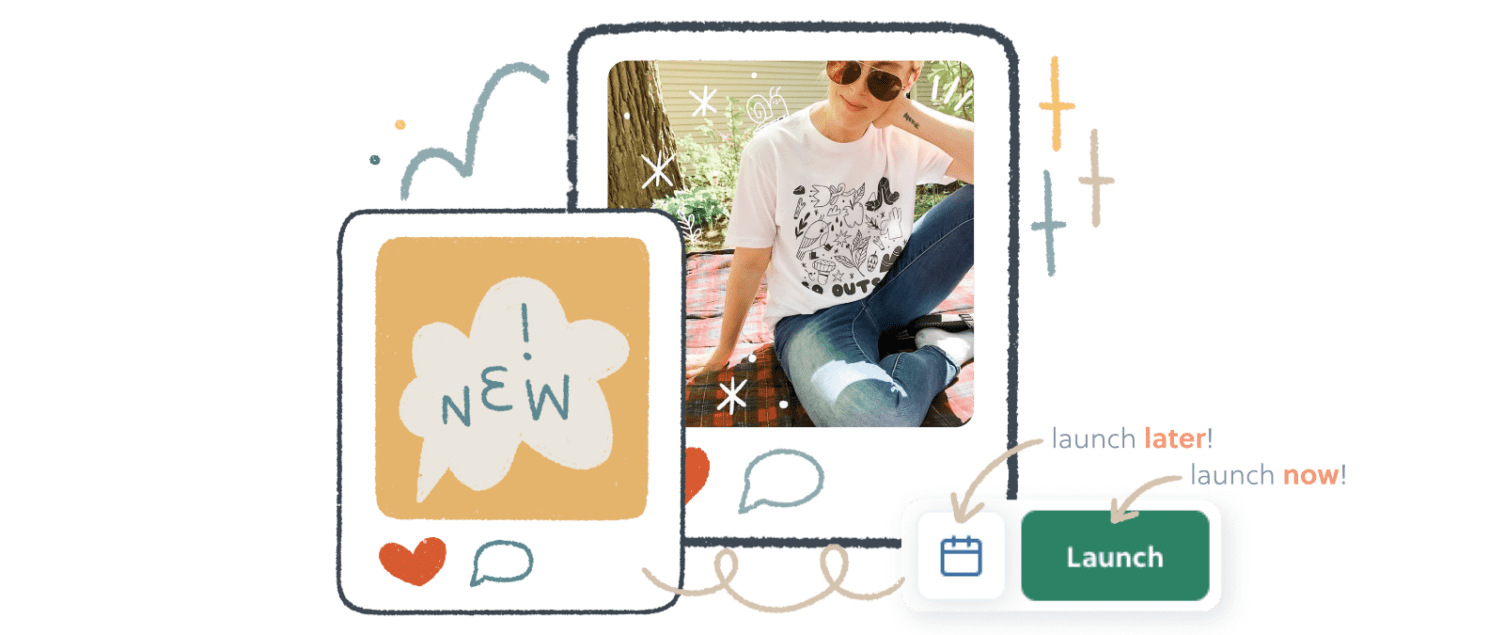
When it comes to launching your campaign, you have two options:
Launch now – If you’re ready to launch your campaign now, you can go ahead and click the green Launch button and then give yourself a high five!
Schedule to launch at a later date – If it makes more sense for you to launch your campaign later, you can click the calendar icon to set your desired launch date – and then give yourself a high five!
Whichever option you choose, be sure to let your community know the details so they know when to buy!
You built your campaign, designed your products, customized your campaign page, and launched your campaign! Take a moment to acknowledge the hard work you put in to make all this happen. We hope you’re feeling accomplished and extremely excited about what’s to come.
Next up – Chapter 3: Promoting Your Campaign. See you there!


