When it comes to designing and creating a custom shirt – you are in the very best hands with Bonfire. We’ve helped thousands of individuals and organizations create amazing designs that their communities love. In this post, we’ll walk through some tips on how you can design a rockin’ t-shirt for your buyers.
How to Design a T-Shirt
- Establish your goals for the shirt
- Brainstorm creative elements
- Gather design inspiration
- Decide who’s designing your shirt
Before You Start
While it may be tempting to jump straight into designing your apparel, there are three steps we suggest completing first. Thinking about some of these options before you delve into creating your t-shirt will help make your design and campaign setup go smoother and be less stressful.
Set Your Goals
Before you get started with your design, it’s important to have an understanding of what you are setting out to accomplish with your t-shirt campaign. What is the primary goal of your t-shirt campaign? Are you trying to raise a certain dollar amount for a cause or need? Or are you hoping to sell as many shirts as you can to raise awareness for a cause or promote your brand? Maybe you’re simply trying to create a great looking shirt to share with your community.
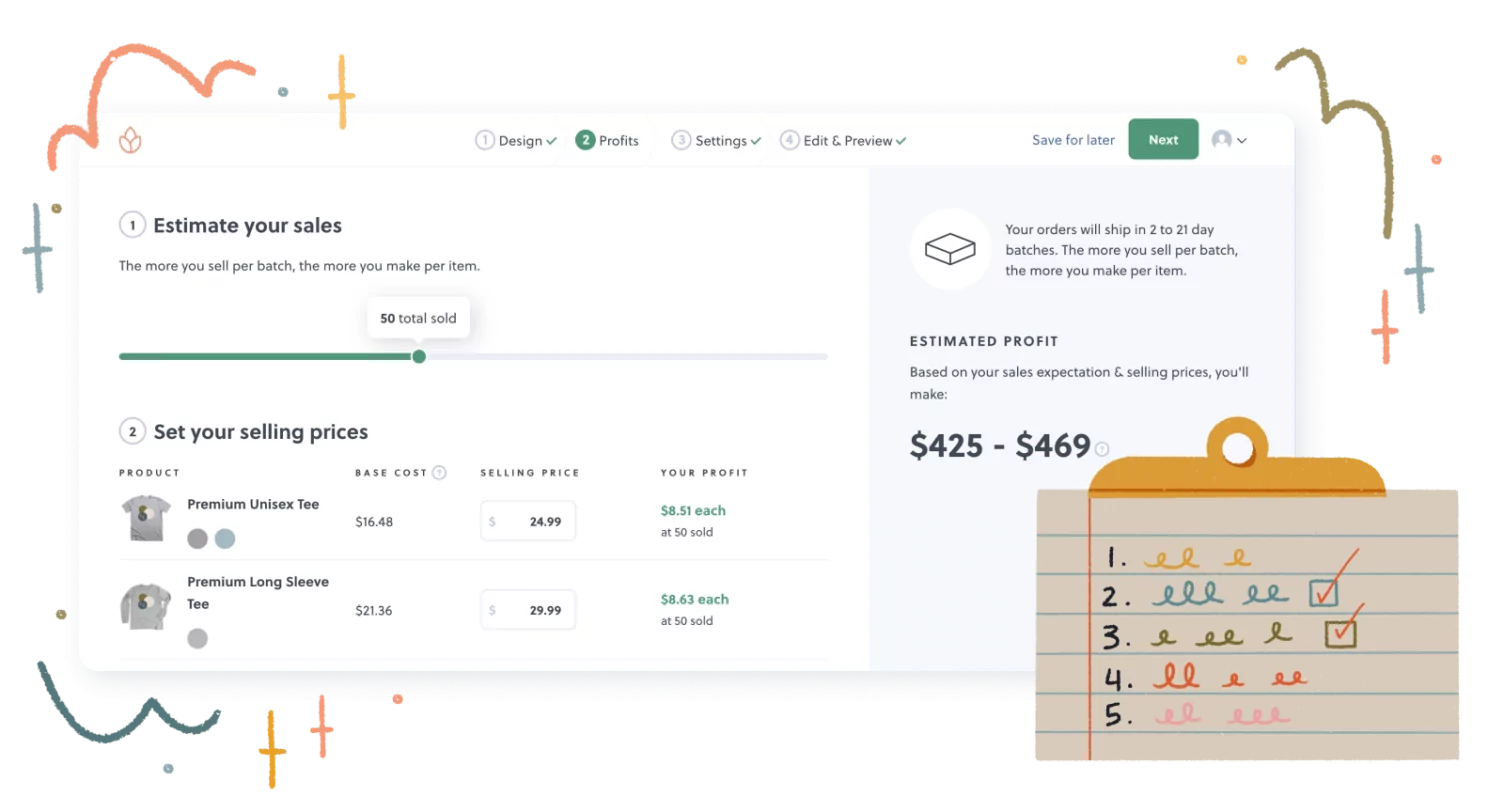
Establishing a main goal for your t-shirt will help you when it’s time to make design and pricing choices. Set your goals first, and then start making decisions about your t-shirt.
Brainstorm Creative Elements
Take some time to determine the words, imagery, logos, or colors that need to be included in your t-shirt design. It’s important to have a list of guidelines around your design so that you have a starting place when you begin your creative process. It will also help make sure you include everything you need to have on the shirt, which is especially important if you are designing apparel for a specific event or cause.
Gather Design Inspiration
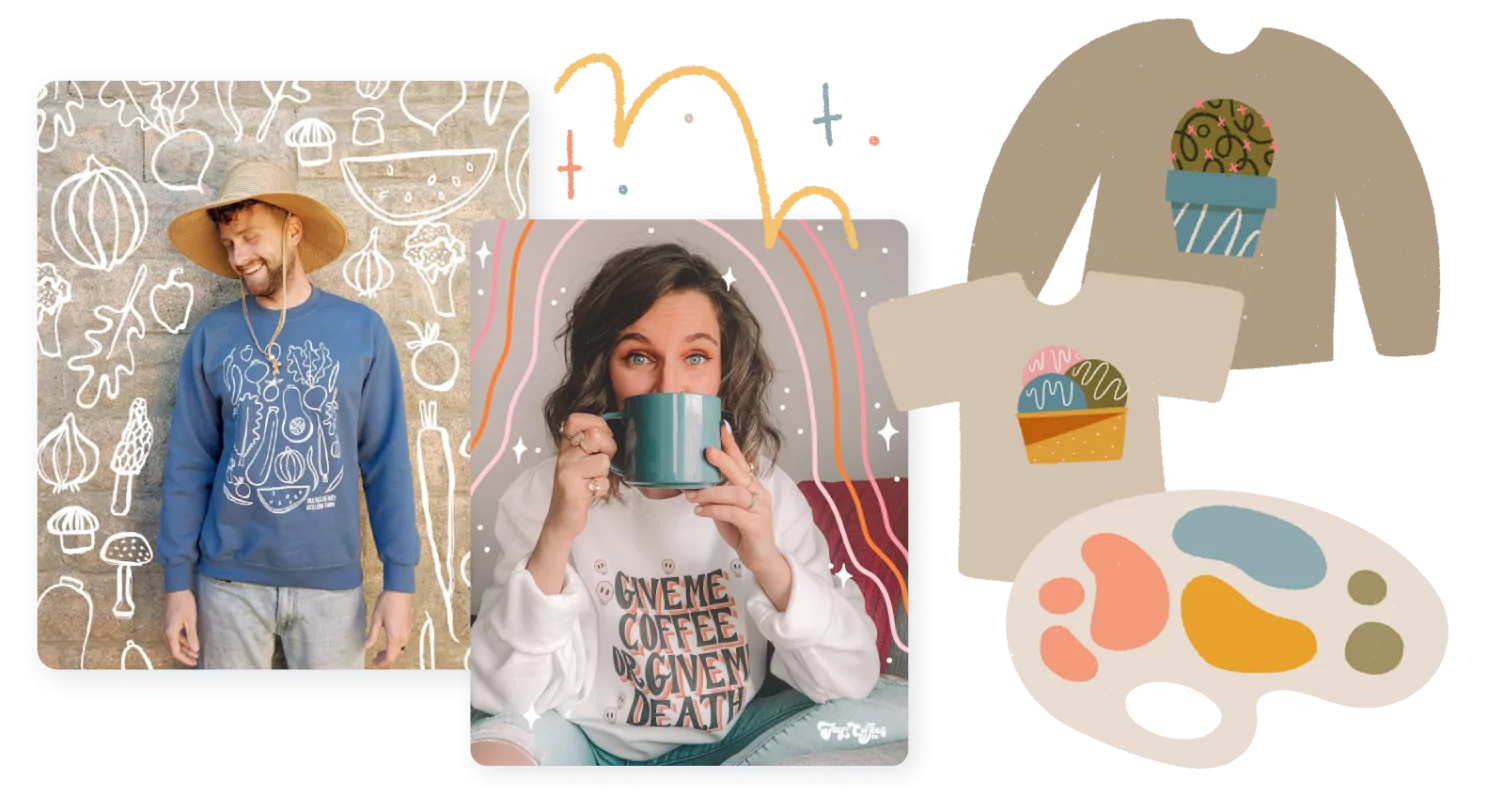
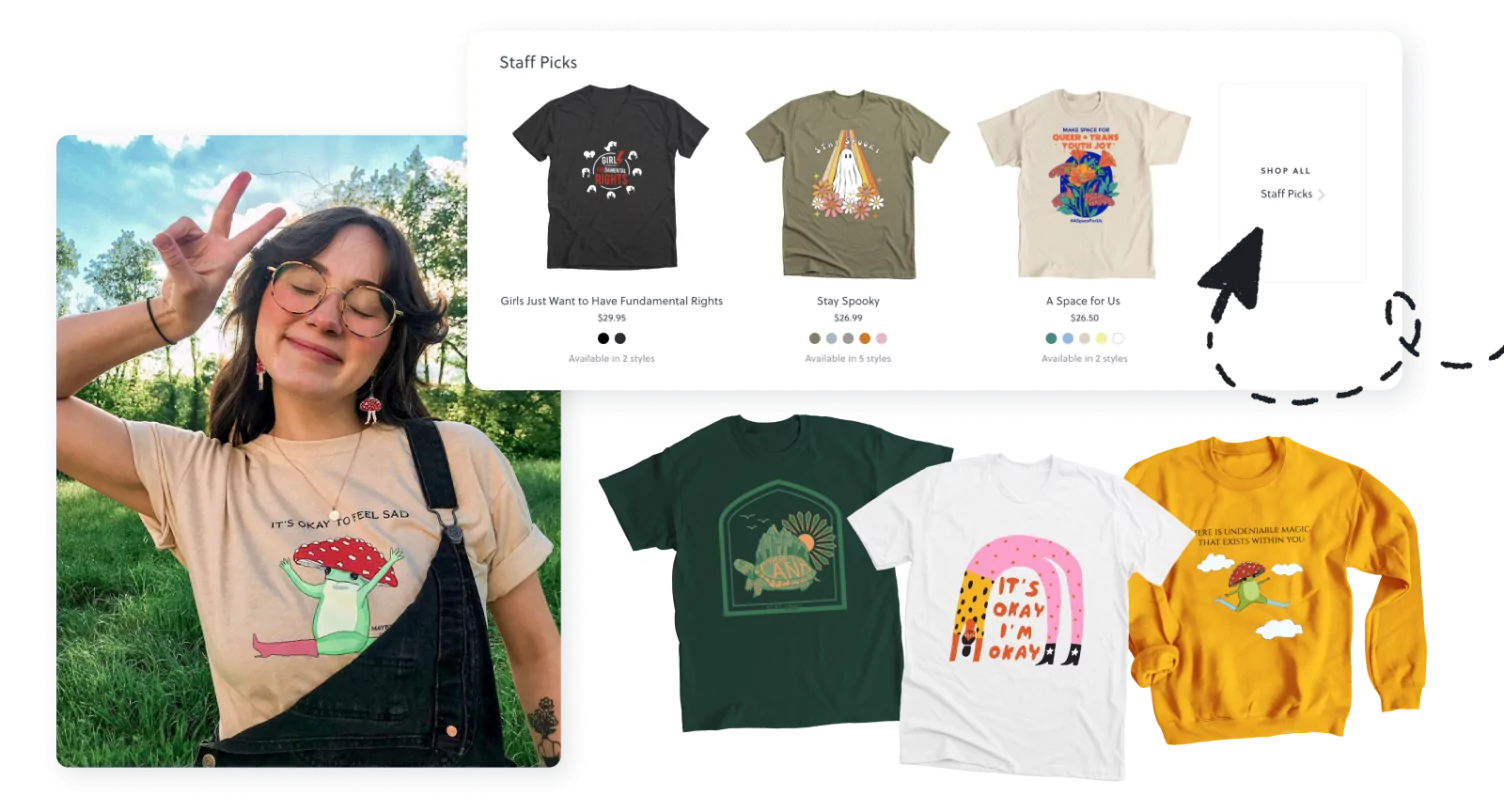
Now for the fun part – gathering inspiration for your design! Collect photos of t-shirt designs you like to help you determine the type of style you want to go for with your shirt. You can check out Bonfire’s Staff Picks, Instagram, or Pinterest to see some of our favorite designs.
Decide Who’s Designing Your Tee
Now that you have a better idea of what you want your custom shirt to look like, you need to decide who will be bringing your t-shirt design to life. There are three ways to get your shirt designed with Bonfire:
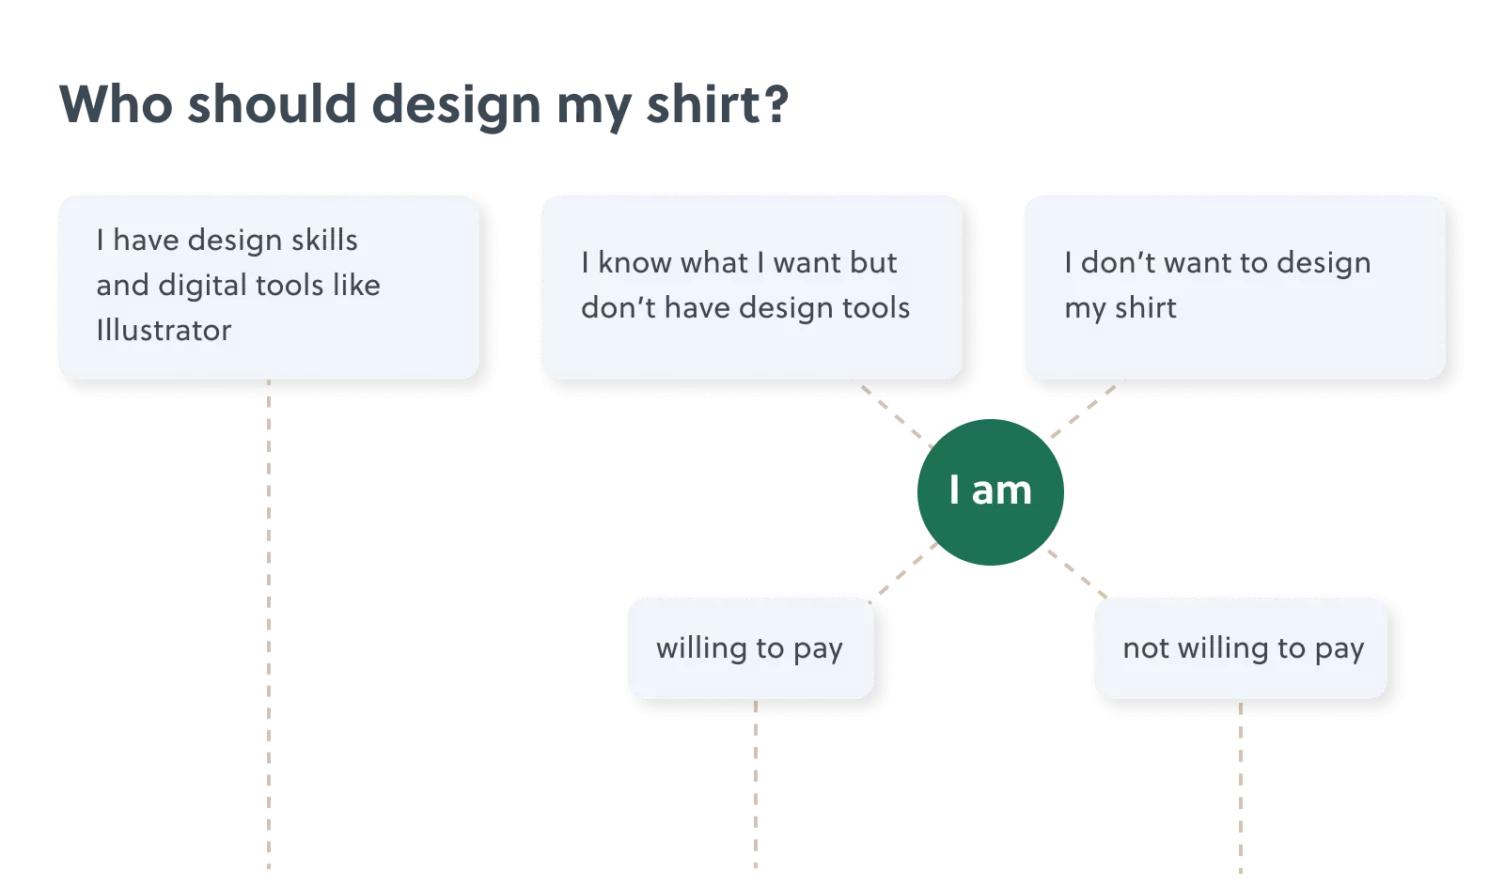
Designing a T-Shirt Yourself
Let’s get creative! Before you jump onto your computer to start creating your design, take some time to think about the individual components that will make up your design.
Decide Your Design Placement
There are a few different options to consider when deciding where to print on your shirt. You can print your design large and centered, or shrink your design and put it on the top right side of the shirt as a “pocket print”. You may choose to print a small design on the front of your shirt and a larger design on the back. You could even get playful and print your design aligned to the left or right of your shirt for a more dynamic effect.
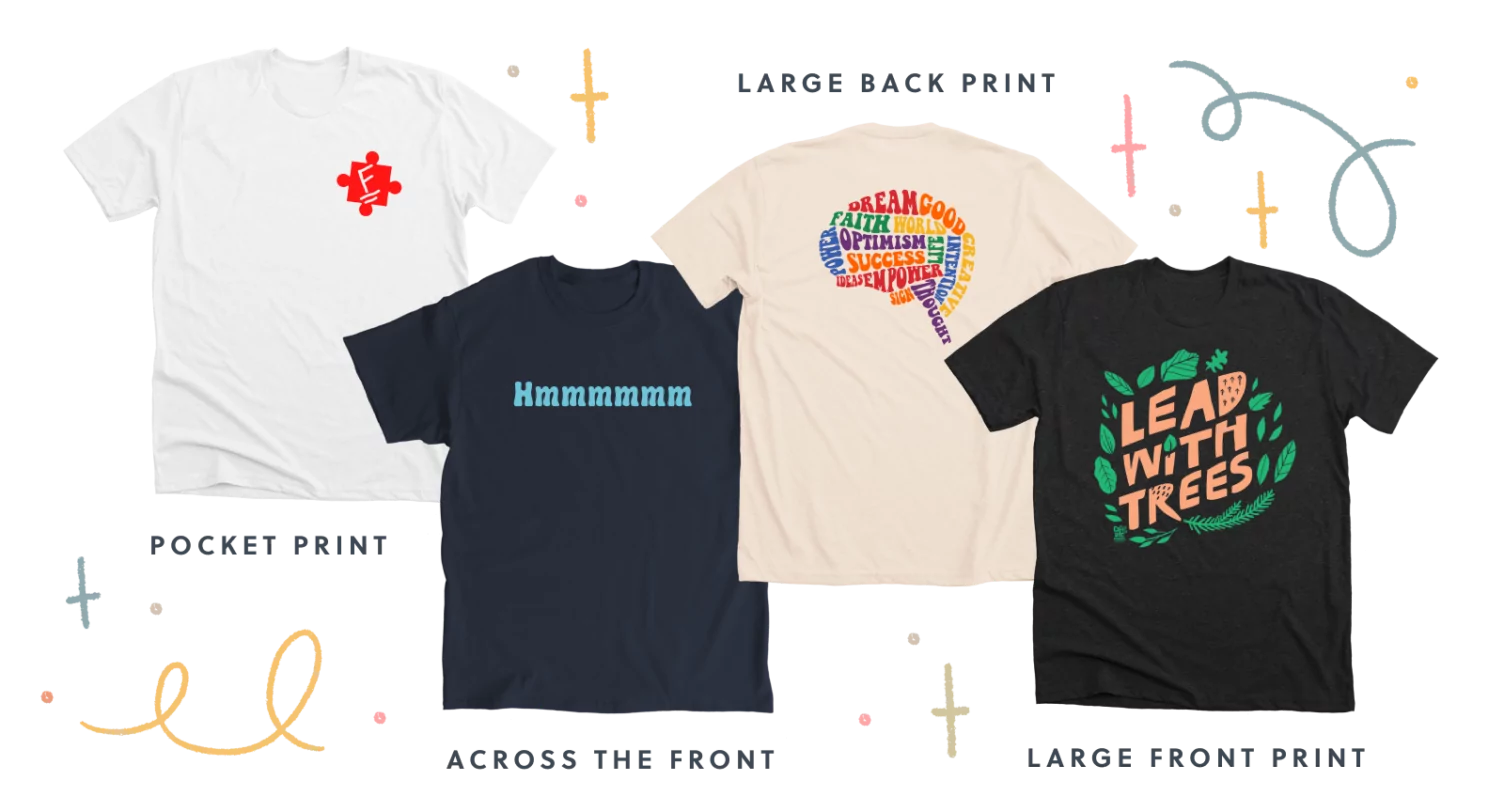
Bonfire provides sellers with a printable area box that directly translates to the screens used in the printing process. You can completely fill in this rectangular printable area for the largest print possible, or shrink your design for a smaller print.
The maximum art size that Bonfire can print is 11.5 inches by 14 inches. These dimensions match the size and proportion of the “printable area” shown in our design tool. To help keep costs as low as possible, the same screen is used to print the design on all sizes and styles of the products you choose for your campaign.
Bonfire makes designing shirts a breeze
![]() Easy setup
Easy setup ![]() Unlimited customizations
Unlimited customizations
Choose Your T-Shirt Colors
Many of the choices you make when creating your t-shirt design will be influenced by the color of the t-shirt you choose to print on. If you know the colors of the products you want to print on before beginning the design process, it will save you some time in the long run, and help you choose which ink colors to use so that your design and text stand out on your shirt when it’s printed.
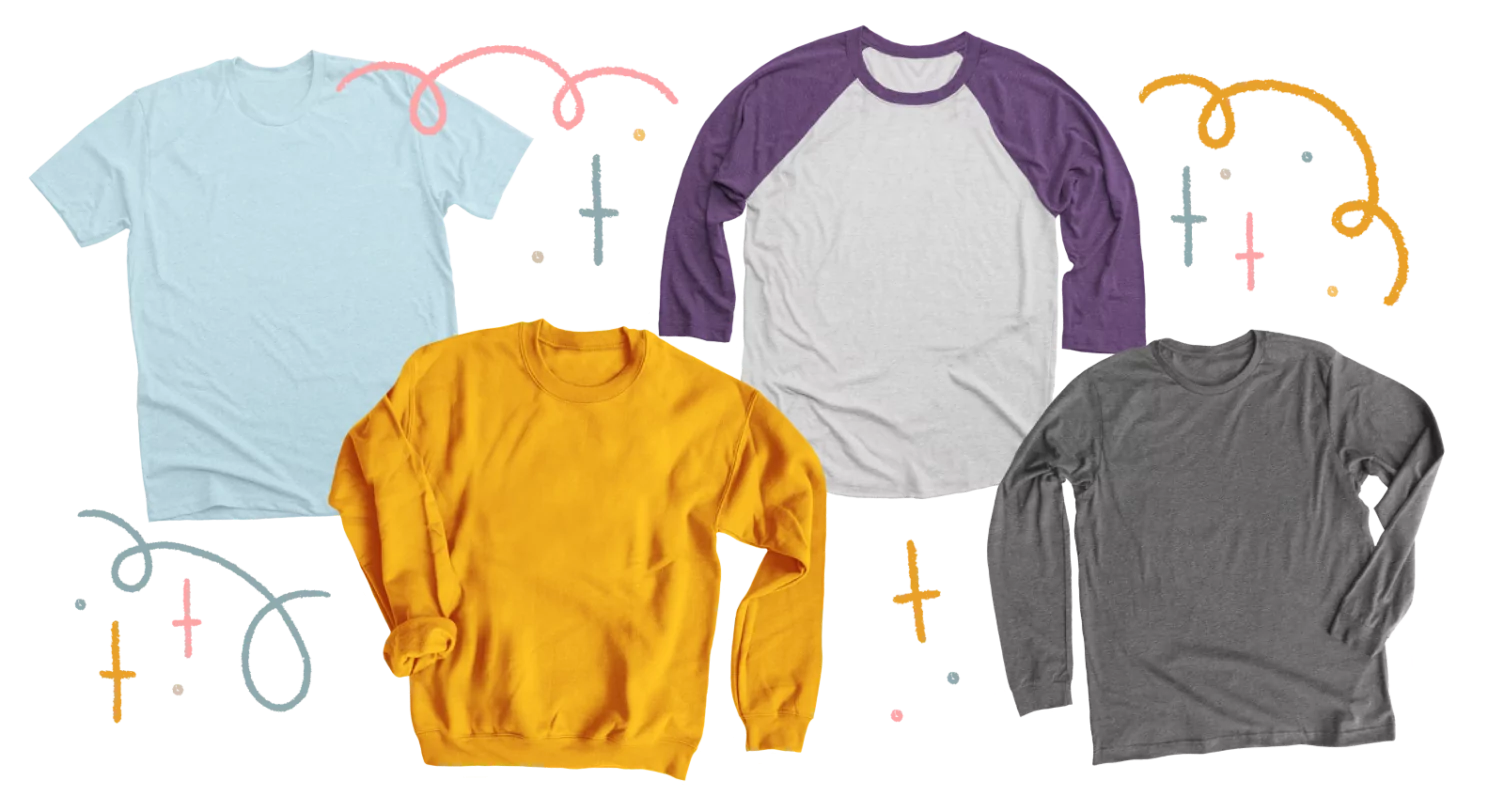
The most popular t-shirt colors purchased on Bonfire in the last year were Black, Dark Heather Grey, and Midnight Navy. So, you may want to keep that in mind when thinking through what apparel colors you want to use.
Add Visuals & Graphics
Custom apparel is a great place to reuse and repurpose existing creative assets like brand logos and marketing illustrations. Many of these assets already contain imagery, typography and color palettes that resonate with your audience. If you’re creating custom shirts for your business, or organization, sticking with the imagery and colors of your brand keeps everything cohesive.
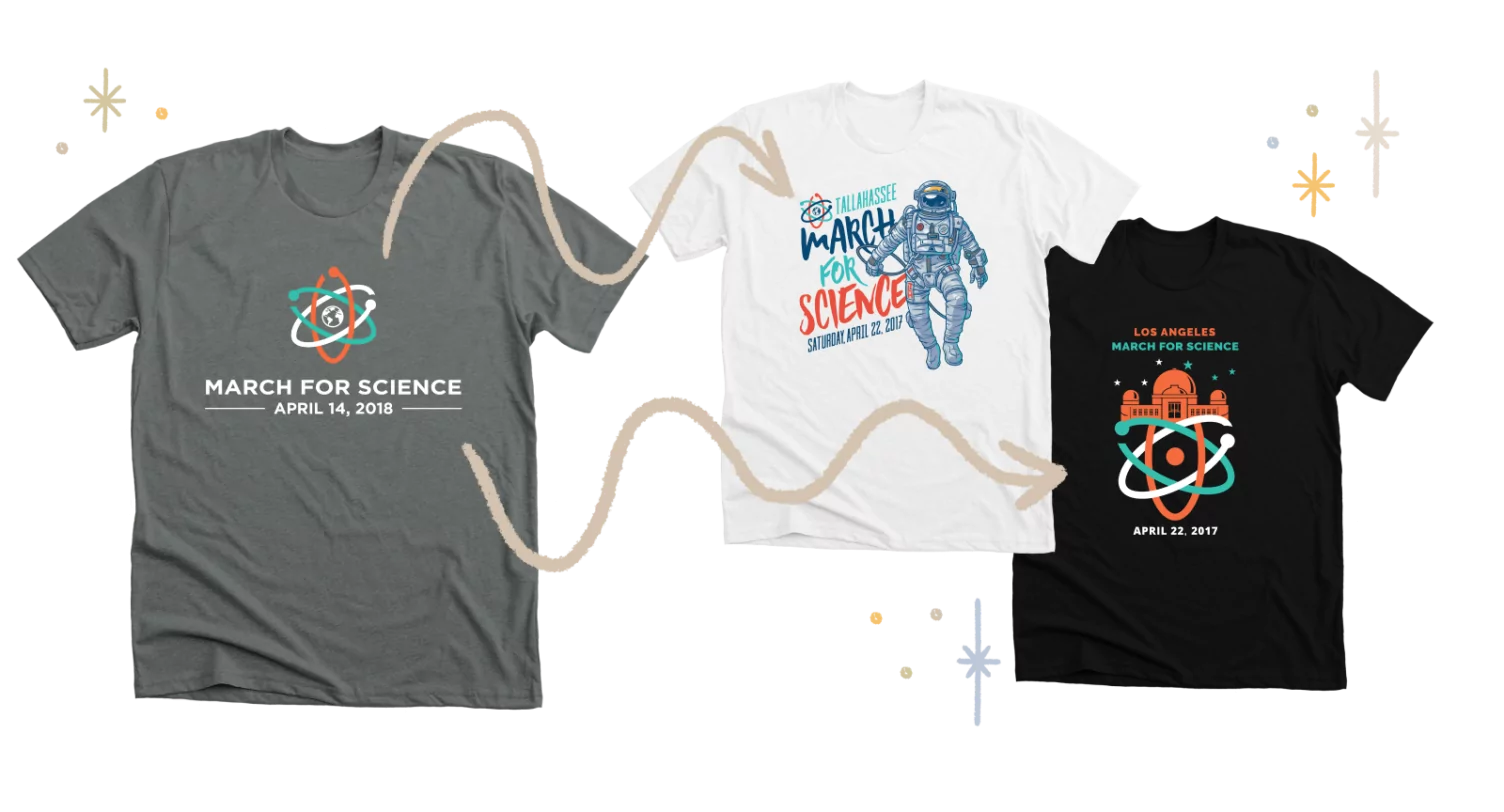
The original March For Science shirt, shown on the left, featured their logo and was designed by the national organizers of the march. As sister marches began creating their own t-shirts, they used the colors and logo icon as inspiration but made the designs personalized to their geographic area and audience. Local organizers had the creative freedom to create relevant, contextually-rich designs tailored to their audiences, while still keeping a cohesive look by using the atom logo and original color scheme.
If you’re designing a shirt for a new business, grassroots cause or personal fundraiser without existing assets, research the themes, passions or interests that tie your network together before you start designing.
Read our guide to learn more about creating a design for your target audience.
Use Typography
If you are struggling to figure out a way to visually represent your brand, cause, or business on a t-shirt, typography could be a great starting place. Including appealing and relatable phrases in your design will maximize the interest in your shirt and in turn, bring in more sales. Typographic designs are an easy way for anyone to create an awesome t-shirt design, without any expensive design programs.
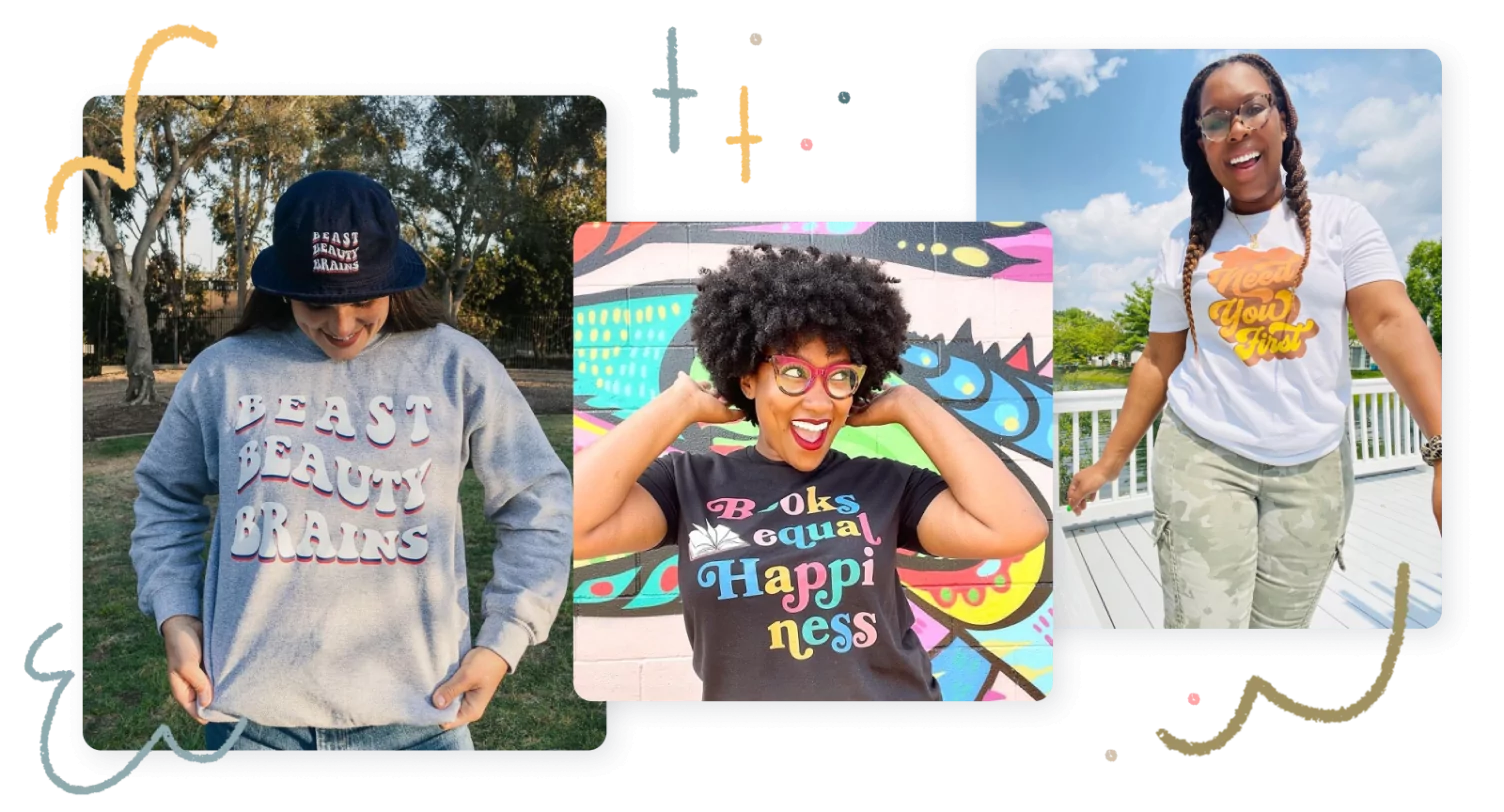
You may already have a word or phrase that will resonate with your audience, but if you are unsure, think about what unites your audience. Design with relevant words or sayings that will reinforce a sense of community around the shirt’s subject matter. Use unique fonts on your shirt to create a piece of art out of just these words or pair your phrase with other design elements and imagery.
Our t-shirt design tool has over 170 free t-shirt fonts to help you create something truly unique. If you can’t find the perfect font for your shirt in our design tool, there’s an endless amount of creative fonts available online for free. If you’re feeling inspired, you can also hand draw your own fonts and text to create your design.
Select Ink Colors
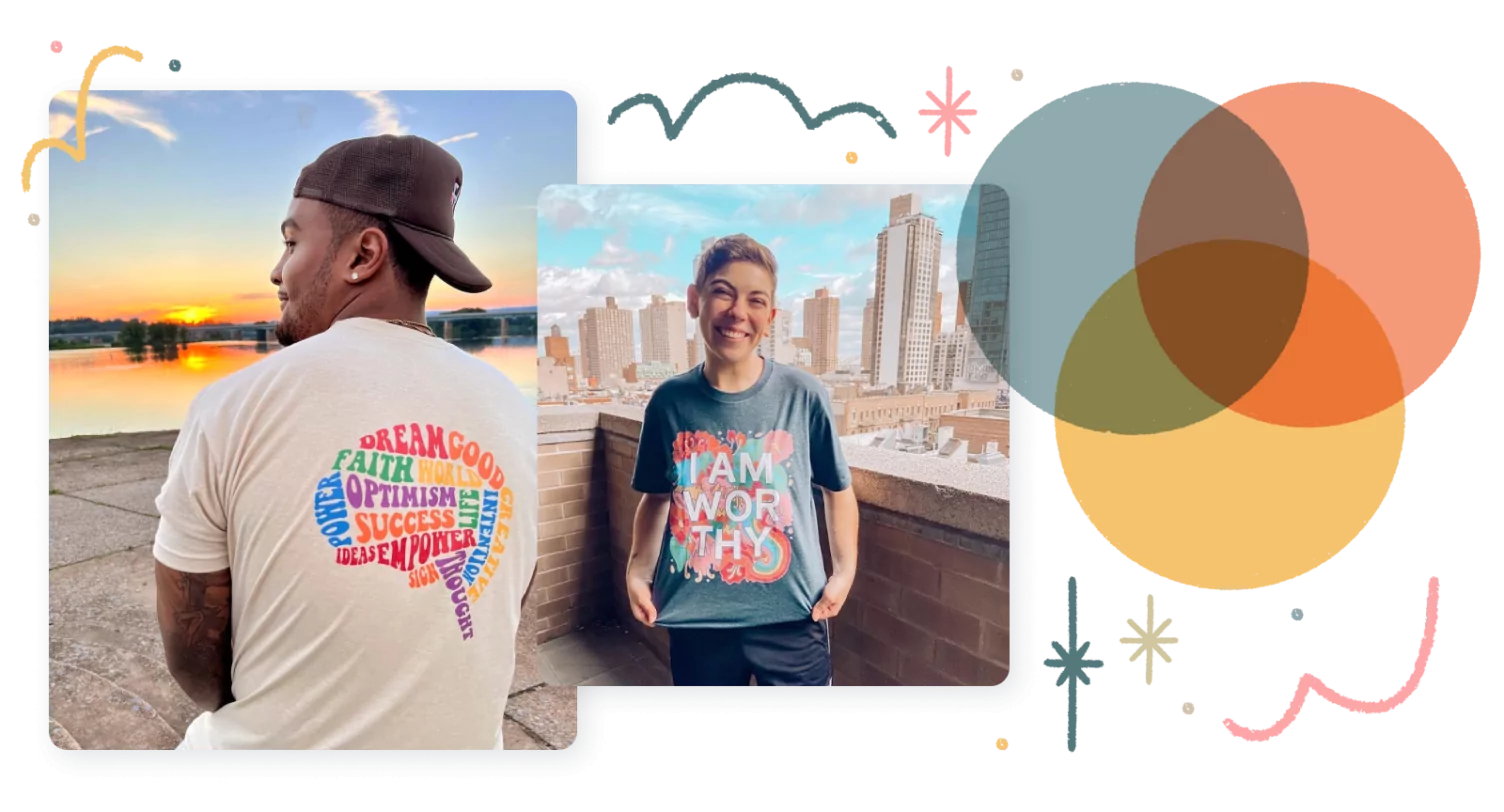
Picking the colors of the design itself is important when making your t-shirt. The best rule of thumb is to always use light ink colors on a dark shirt and darker ink colors on a light shirt. This creates a contrast between the print and the shirt itself so your design will really “pop”. While printing black ink on a black shirt may be trending in some audience groups, most buyers would be disappointed if they couldn’t see the shirt design on the t-shirt it was printed on.
Pro Tip:
Use 1 to 3 colors in your design to maximize your profits or to keep your cost per-shirt as low as possible.
White ink is an easy win and shows up well on most shirt colors. However, if you want to play with more colors in your design, explore complementary colors that are aesthetically pleasing when used together. We recommend using 3 or fewer colors to maximize your profits and create a crisp, clean design.
Bring Your Design to Life in the Design Tool
Whether or not you have fancy design programs, you can create awesome apparel designs right in Bonfire’s Design Tool. Once in the Design Tool, you can choose to upload your own custom, ready-made design, or add text and clipart from our extensive clipart library, powered by Noun Project.
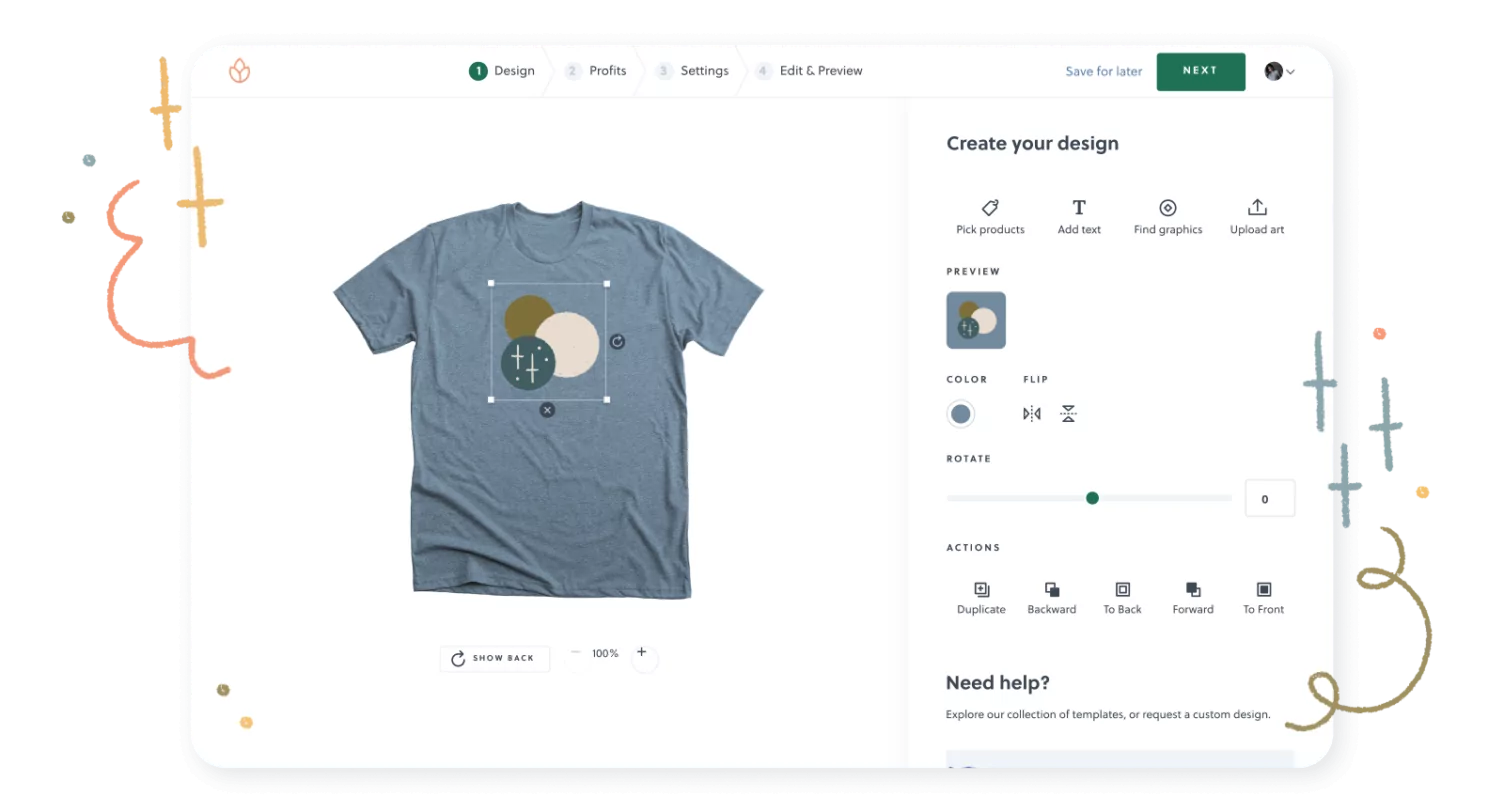
If you’re uploading your own custom artwork, follow these design file recommendations to make sure it looks its best when printed:
- Upload an .AI or .EPS file with a transparent background
- Export your artwork from vector graphics if you can’t upload an .AI or .EPS file
- Use a print file that’s at least 1500px x 1500 px and 300 DPI (dots per inch)
Once you’ve uploaded your design or created it in the design tool, you can select your apparel styles and colors. Our t-shirt design tool makes it easy for you to test color options out and see what looks best. We’ve worked hard to make sure that the t-shirt images in our design tool match what the shirts look like in real life.
Hire a Designer
If you don’t have the time to bring your t-shirt design to life yourself, you can hire one of our talented graphic designer to create it for you.
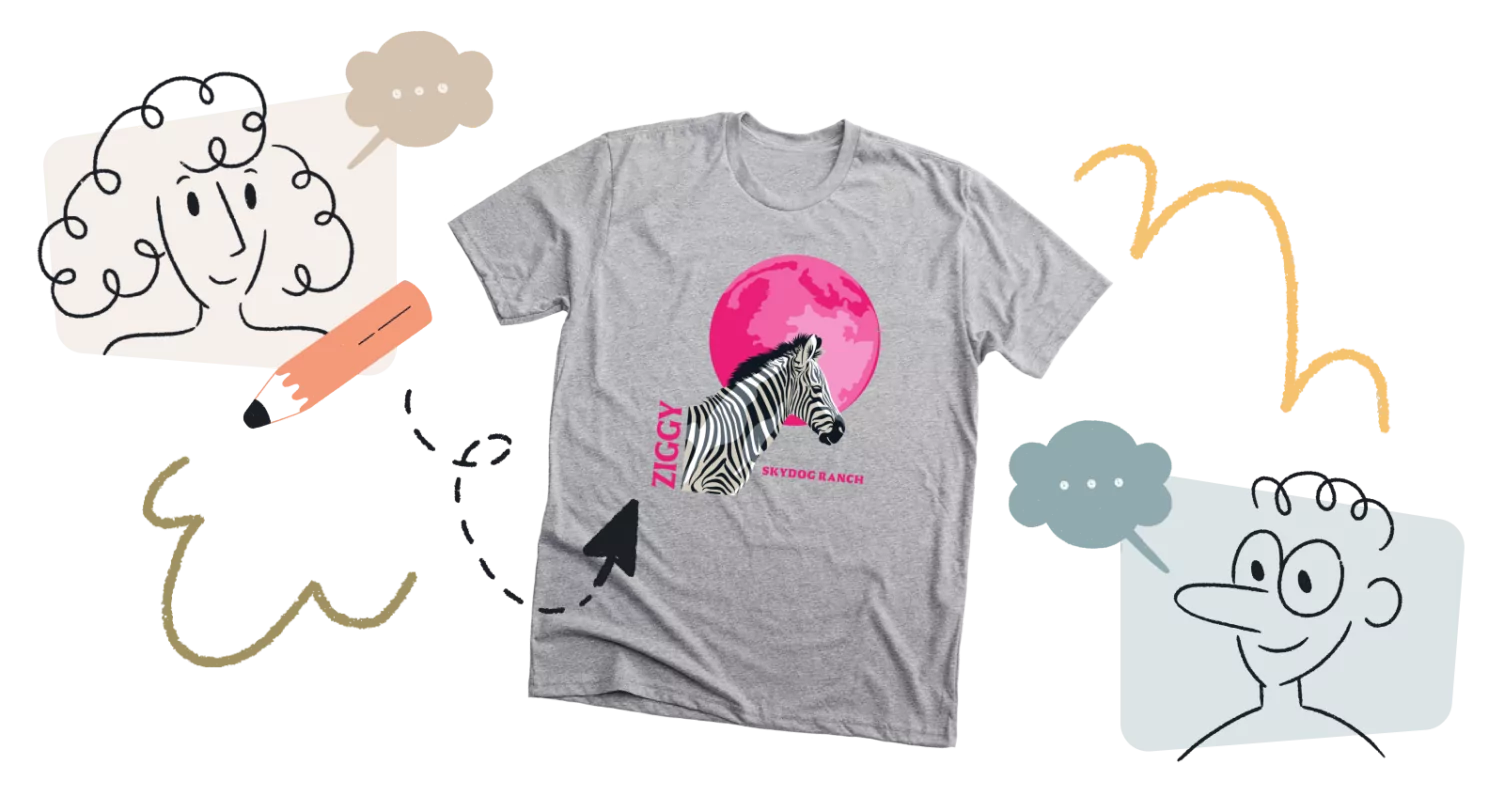
For as little as $49, you can get the concierge design experience of your dreams. Simply tell us your vision for the design, and pass along all of your ideas, inspiration, and any sketches you have. Our team of designers will work with you to create a design that fully encapsulates your vision.
Design a Shirt with a Customizable Template
Bonfire has a suite of over 500 free customizable t-shirt design templates to help you create an amazing design for your community without the need for special design software.
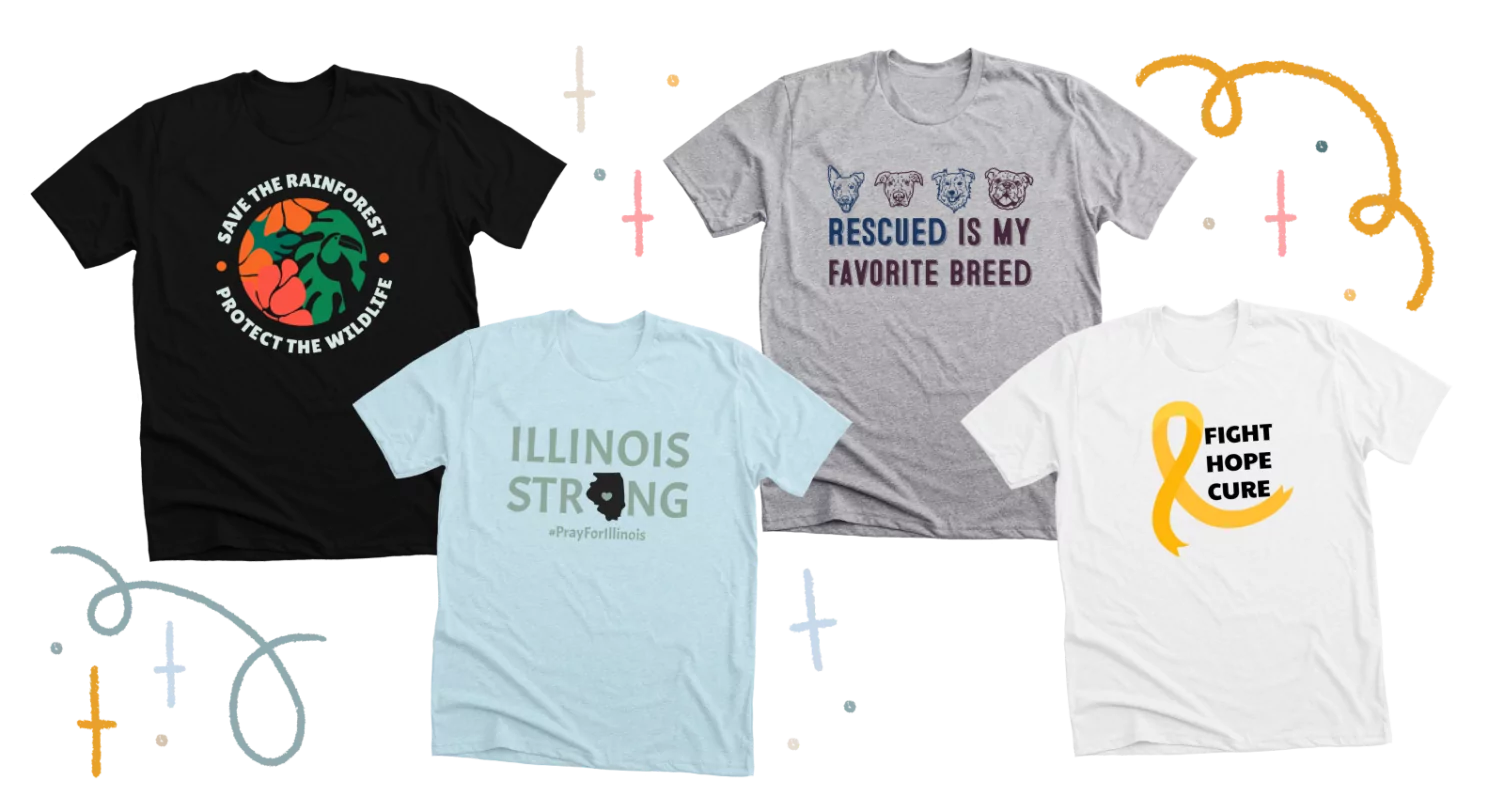
No matter what you are creating a t-shirt for, our fully customizable templates will allow you to have a starting point, and make edits to personalize it to your brand or cause.
Ready to design your own custom shirt?
![]() 100% free
100% free ![]() Easy set up
Easy set up ![]() Unlimited customizations
Unlimited customizations
Still have questions about how to design a shirt? Our Support Team is here to help you make your design look awesome. Our Design team also reviews each and every design that goes through the Bonfire system to make sure that your shirts look their best when they go to print.

Written by: Hayden Ireland / Content Specialist
Illustrated by: Madison Summers / Lead Marketing Designer


