If you want to create a custom t-shirt without the use of an expensive program like Adobe Photoshop or Illustrator, then our T-Shirt Design Tool is a great option for you. We’ve intentionally designed this tool to be the most useful to beginner t-shirt designers with little-to-no experience with printing apparel, but still has the functionality to make high-quality designs. Instead of overwhelming you with options and buttons, we present a selection of the most useful editing features. By using the tips we share with you below, you can make an awesome t-shirt that your community will love.
Part 1: Getting Creative with Your Text
One of the easiest ways to design a t-shirt in the Bonfire Design Tool is to use text as the main visual element. We have a broad selection of fonts to match any cause or idea you are creating a t-shirt for. Designing a t-shirt is anything but boring with our Design Tool.
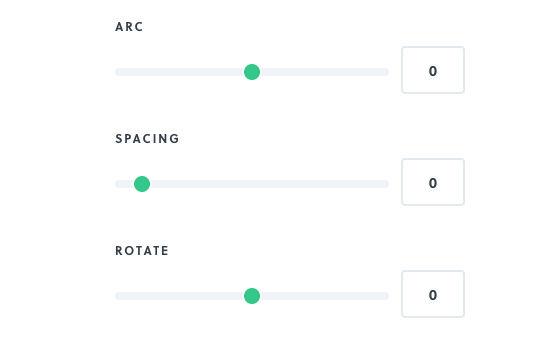
When you start adding text elements onto your shirt design, these bars will appear on the right tool panel. By moving each of the green dots right or left, you can manipulate the characters in each text box to transform them. With the following 5 tips on how to use Bonfire’s fonts and text editing tools effectively, you can easily create a text-based design to wow your buyers.
1. Arc your text
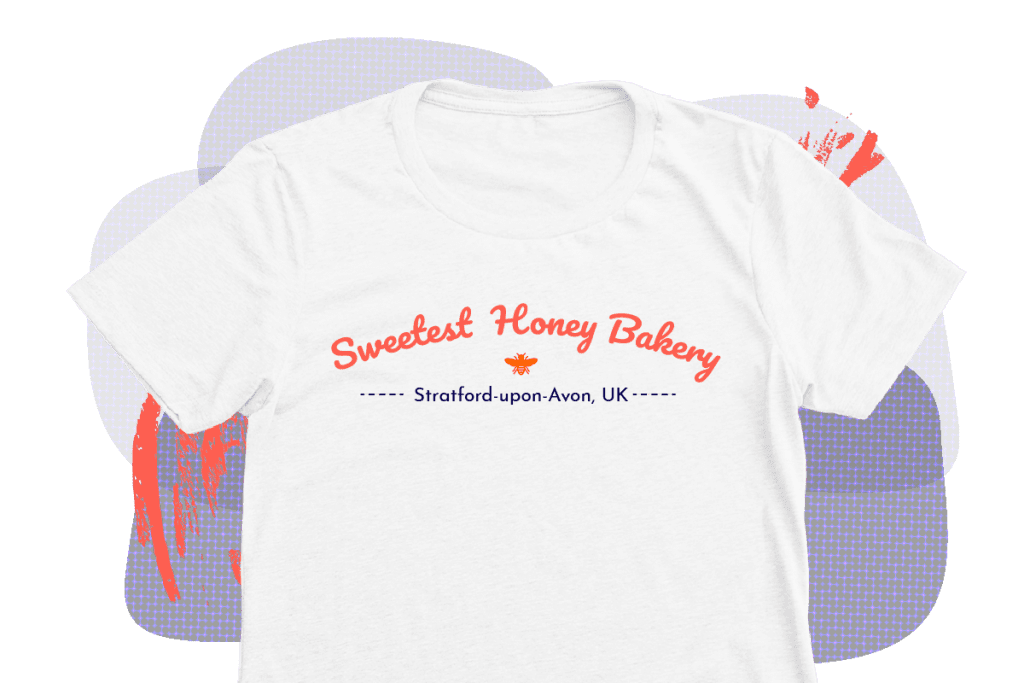
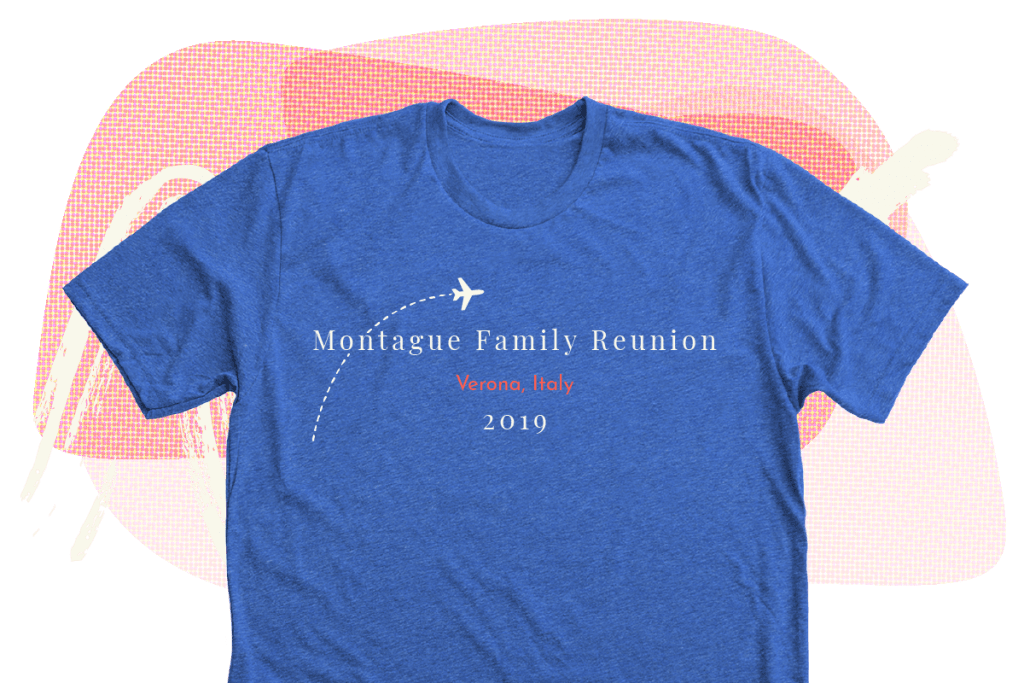
The Arced Text tool allows you to bend a word or a full line of text on your shirt. This is a great way to add movement to your design. Adding an arc to your text works well when your design is highlighting a single word you want to emphasize, such as a location, value, or company name. But, it can also be used to wrap text around a circle or illustration.
2. Use all-caps
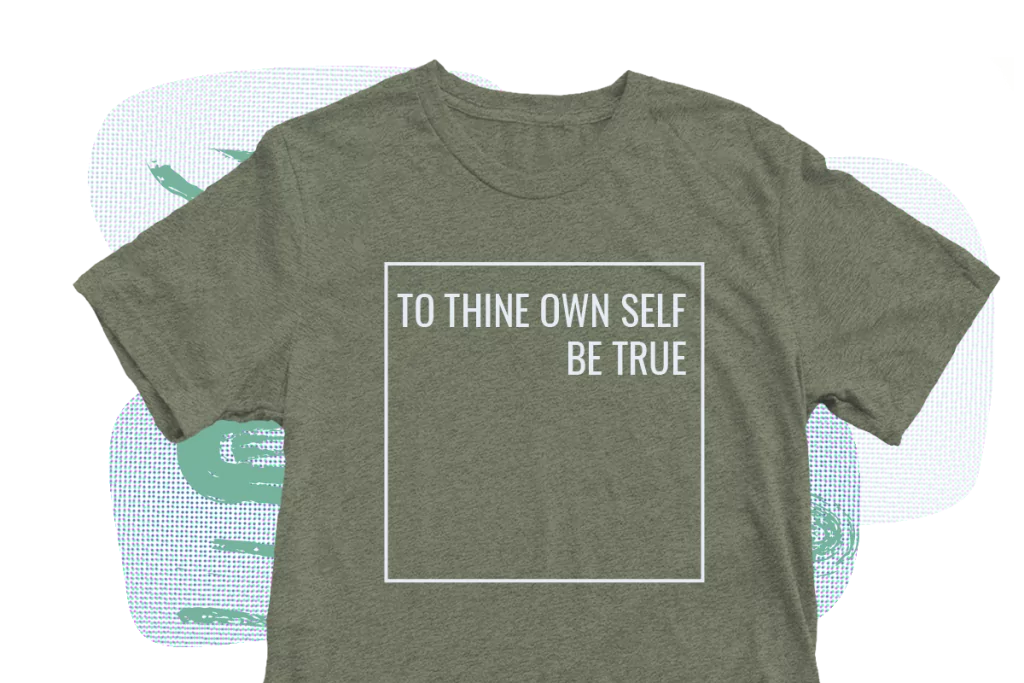
Turn on that Caps Lock to create a design that’s clean and minimalist. Many of the fonts available in the Bonfire Design tool take on a whole new aesthetic when used in an All-Caps typesetting. And when you are searching for a way to create a design that’s clean, simple, and androgynous, using a sans serif font in all capital letters will help you accomplish the look.
3. Space out your letters
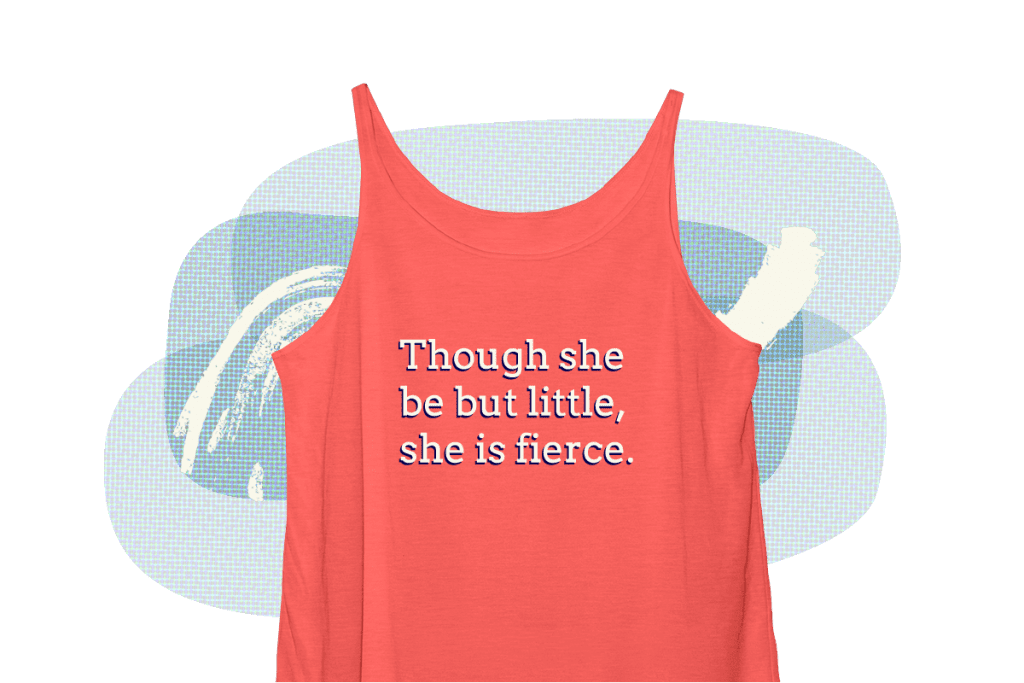
With the spacing tool, you can add letter spacing between each character in a single line of text. We recommend using this with all-caps text to complete your minimalist look. But this technique also works well with a serif font written in all lower case as shown below. This look is more feminine and bespoke.
Want to see more minimalist t-shirt designs?
Explore our free typography t-shirt templates
4. Rotate your text to create movement
Rotating lines of text is another way to add interest to your design. You can rotate all of your text in a single direction, or have words going in different directions. You can also combine rotated text with text written in a straight line for a dynamic layout.
5. Layer your text for cool effects
A cool way to make your text look three dimensional is to duplicate your text, make each text element a different color, and then offset the top line a bit to create a shadow. By doing so, you can create a blocky look. Just make sure you choose ink colors that work well together and don’t lessen the readability of the words in your design.
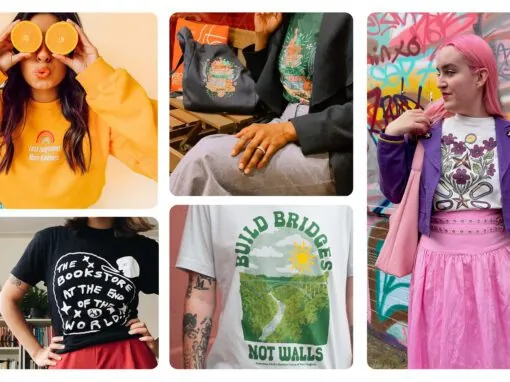
Part 2: Combining Graphics with Your Text
While many of the shirts launched on Bonfire keep things simple with a text-heavy design, many of the most trendy shirts on our platform use a combination of text and illustration. Whether or not you have illustration abilities, you can use the Bonfire design tool to make your t-shirt design come alive.
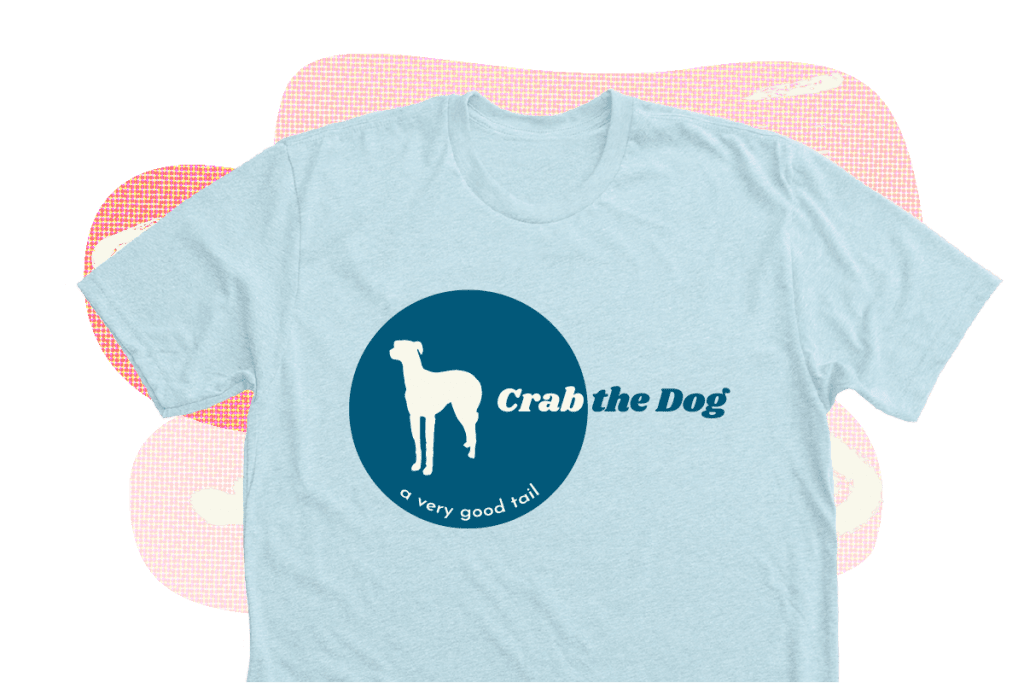
6. Add graphics from our free clipart library
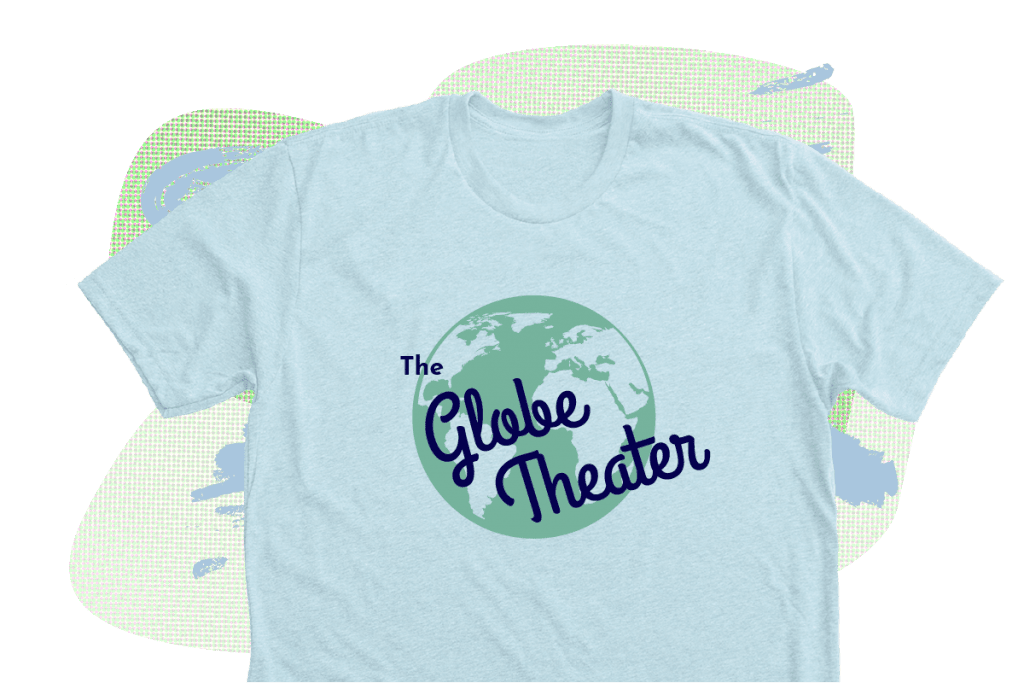
Our extensive clipart library has all sorts of images for you to use in your design, and you can change the color of the elements to be any color of the rainbow! Clipart is an easy way to add interest to your design or visually tie the design into your cause or message.
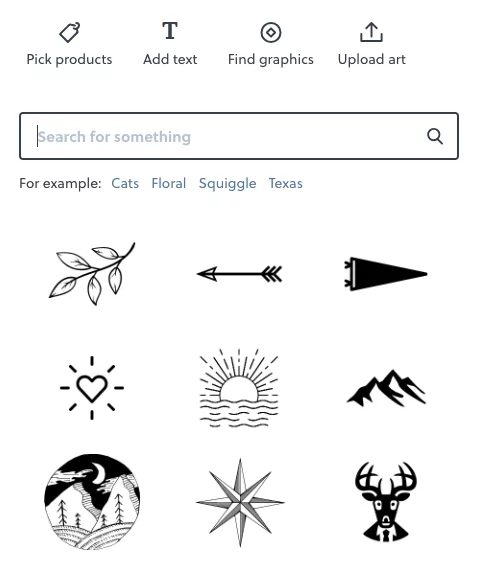
Search our clipart library by typing in a term that connects with your cause, or something more generic that can be used as an embellishment around the text. You can also upload your own artwork or graphics by clicking the “Upload Art” icon.
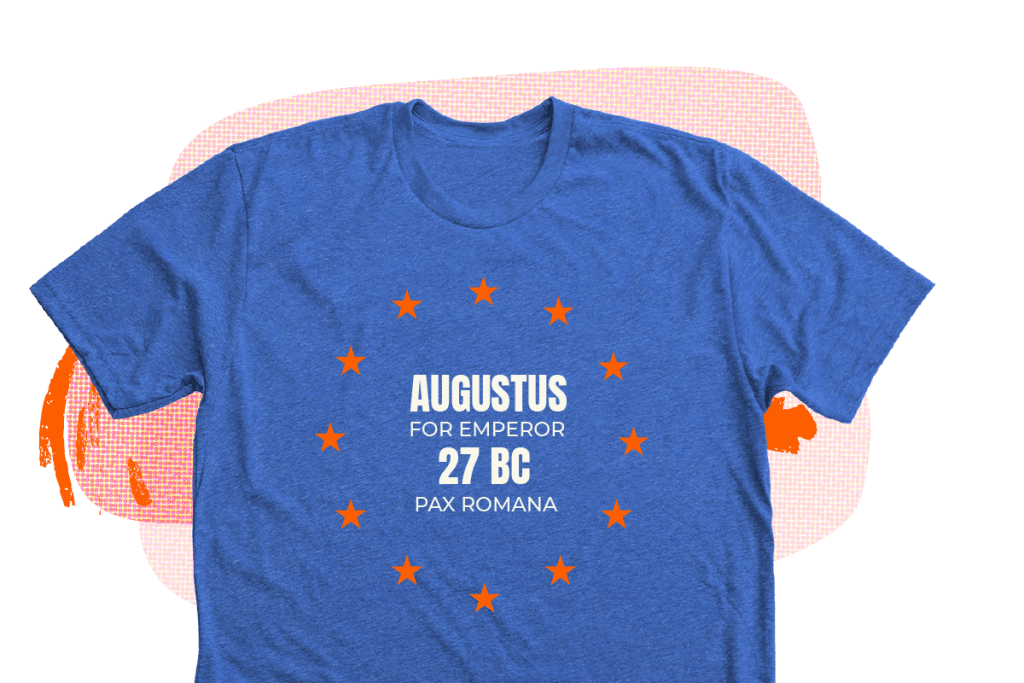
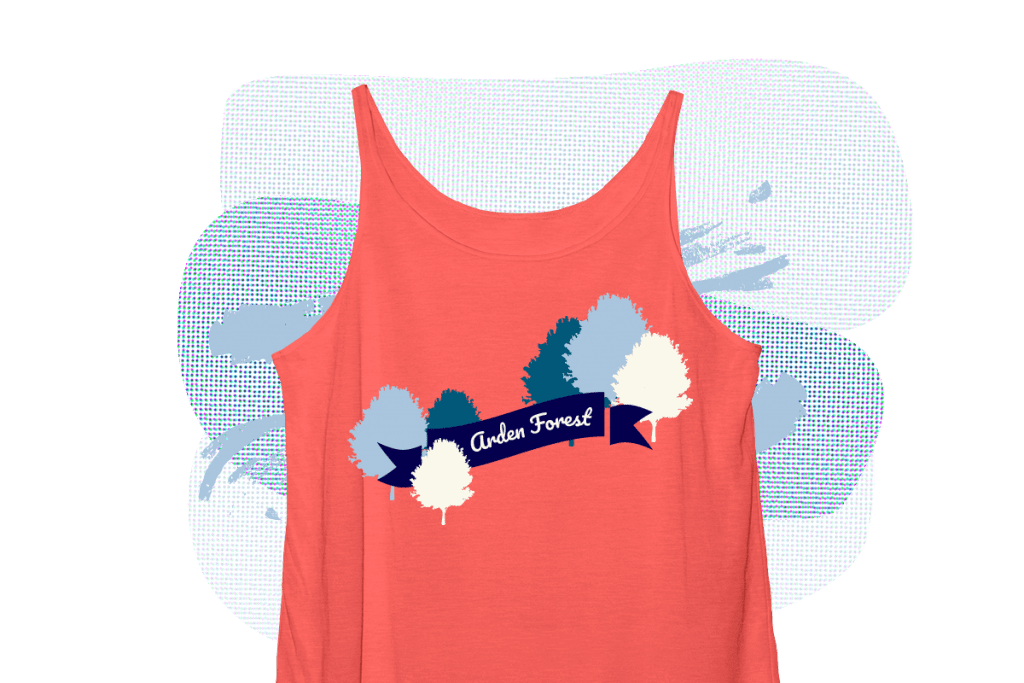
7. Layer your text over clipart elements
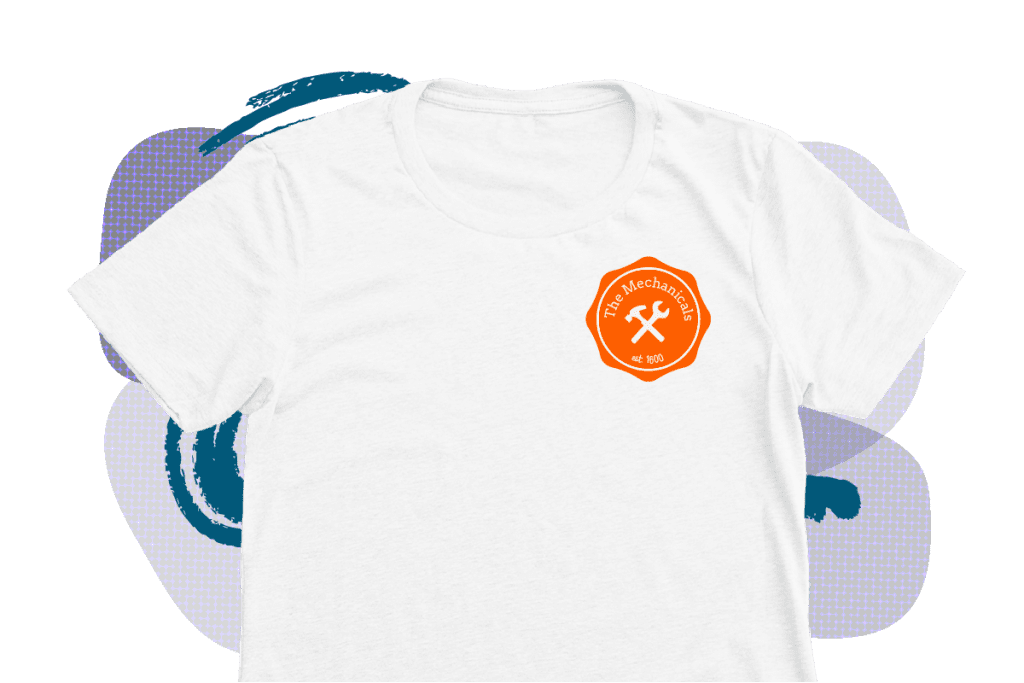
Many of the clipart elements you can find in our clipart library work well layered underneath text. Use words like “badge”, “banner”, “flag”, or “circle” in the clipart search bar to get started. This is a great way to create a design for a pocket print or larger back print.
8. Save time by duplicating elements
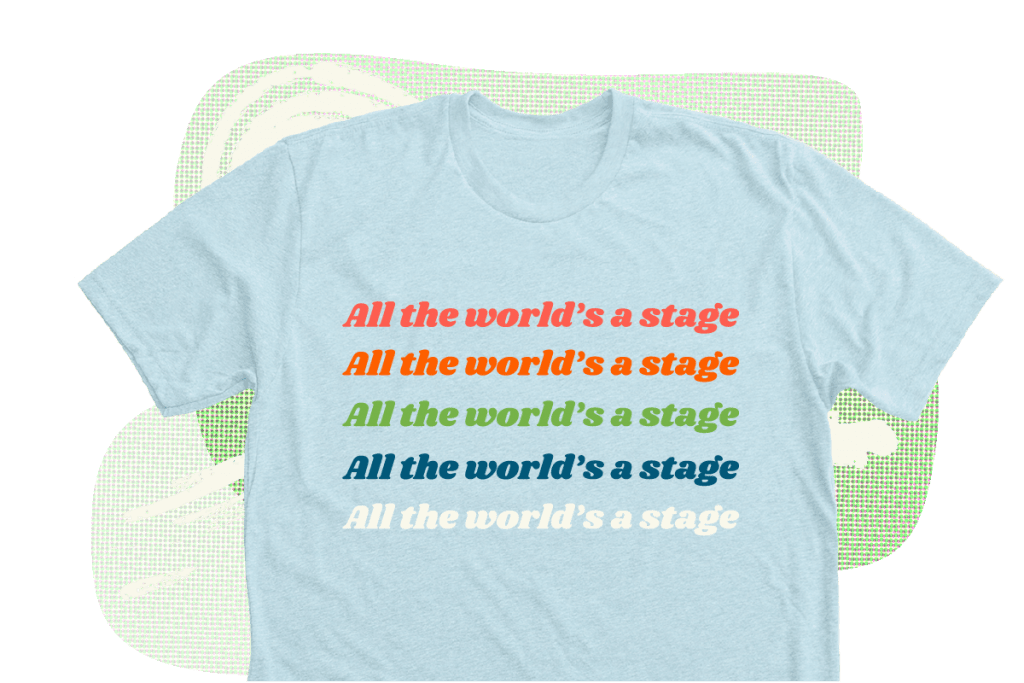
Save time while designing your shirt and ensure lines of text are edited in the same size and style by using our “Duplicate” button. This is also a great way to create a design with rows of the same text repeated, which is a recent t-shirt design trend.
9. Add depth to your design
Our design tool allows you to move elements in your design forwards and backwards using the Layer tool in the sidebar to easily add depth to your design without the need for Adobe Photoshop or Illustrator. This is a great way to make your design appear more intricate or complex.
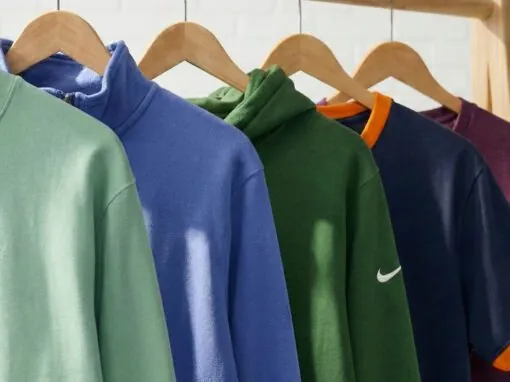
10. Try different t-shirt color & artwork color combinations
Once you’ve chosen the main components of your design, you can tweak color choices of the design elements based on the apparel products you plan to print on. If you are looking for ways to get creative with your shirt and artwork colors, check out our favorite T-shirt and Ink color combinations.
With Bonfire’s Design Tool, customizing a shirt for your community is quick and easy. Now that you know more about all the Design Tool has to offer, it’s time to jump in and start creating. And if you have any questions along the way, we are here to help.