Designing an amazing t-shirt isn’t an easy task. It can sometimes feel daunting, especially if you don’t have the computer programs or design skills to make your ideas a reality. If you have selected to create your next t-shirt design by partnering with a professional designer, you want to make sure you know what you need to bring to the table in order for your design process to go smoothly.
At Bonfire, we’ve worked with thousands of customers through our concierge design service, Bonfire Studio, to bring their design to life on a shirt. Through this experience, we’ve pulled together our best tips on how to work with a designer to create your next favorite t-shirt. Let’s hop in!
Create Your Design Brief
The first step to creating an awesome t-shirt design is communicating what you’re looking for to the designer. While it may feel tempting to tell your designer to do “whatever they think looks good”, it never seems to be that easy and will lead to an extended design process with many “pull-your-hair-out” moments for both you and your designer.
Let’s take apart this process a bit and walk step-by-step through it, to see how maybe it’s not as intimidating or time-consuming as you may have originally thought.
Established Your Design Requirements
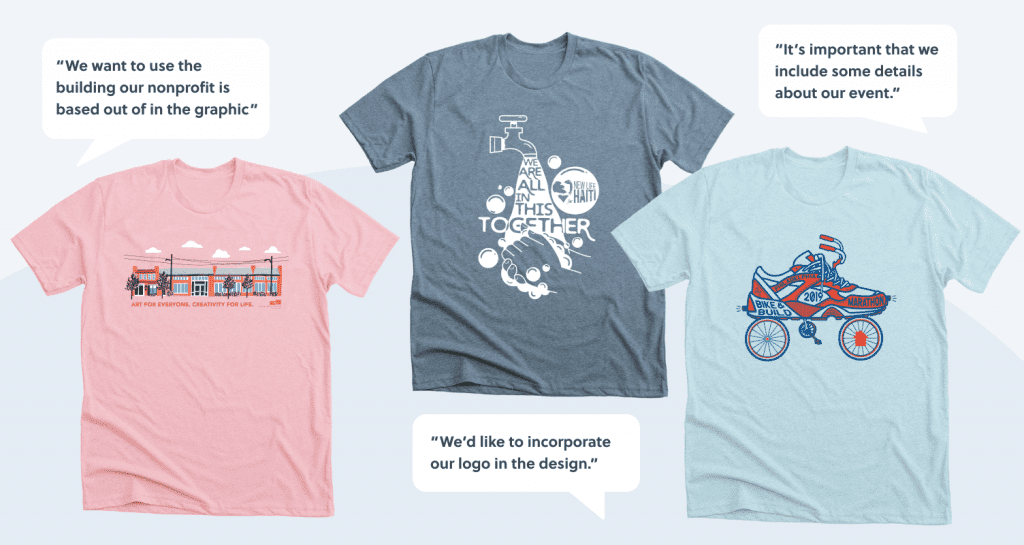
The best way to ease into the t-shirt design process is to start with what you know you need. Make a list of the non-negotiable design elements that need to be included in your design. This may be a logo, a date of an event, or specific imagery that represents your business, organization, or cause. This is also a great time in the process to determine specifics around the products you plan to print on. If you know you only want to print on light blue t-shirts, or know you need to have both a front and back design, it’s helpful to notify your designer before they get too far along in the design process.
When you fill out the Bonfire Studio design brief, we ask you about your style – what type of mood you are looking for your t-shirt design to have. We’ve found that this is a foundational part of understanding what you want in your design. So jot down a few words such as “playful, feminine, flowery, rugged, art deco, etc” to help you define the style you are looking for in your design.
Collect Image Files
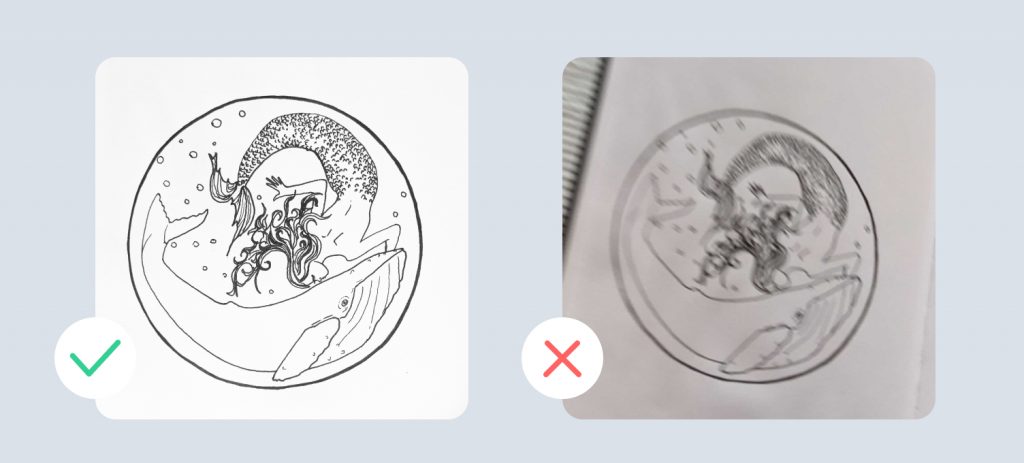
If there are specific logos or images that need to be included in your design, it’s likely you will need to send along files for the designers to integrate into the design. Or, you may need to send along reference photos of a specific element that needs to be illustrated. Make sure any photos you send to your designer are high-quality. This is important to achieve accuracy and to print clearly. If you are sketching ideas on paper, make sure you scan them or photograph them in a way that your designer will be able to clearly see your ideas.
Gather Feedback
If you’re working on t-shirts for a community that you’ve done t-shirts with in the past, look back which were your most popular t-shirts. What feedback have you received about those other shirts? One of the best ways to make a t-shirt that your community loves is to listen to what they want. If you know that they really love darker t-shirt colors, you’ll know that they won’t be quite as happy about a white shirt, or at the very least won’t wear it as often.
Also, keep in mind what t-shirt products are in style with your community. Bonfire offers many different types of t-shirt options, from a super soft Premium Unisex Tee to Comfort Colors shirts. Depending on the intentions of the shirt and the age of your audience, you may want to select certain apparel styles and colors.
Find Design Inspiration
Although you may not consider yourself to be a designer, you still likely have a good understanding of types of designs that you think look good, or will resonate with your audience. Check out Pinterest, Dribbble, or Instagram to gather some design inspiration that will help you express to your designer the types of styles, fonts, and colors that you and your audience enjoy. The more your designer can start to get to know you, the closer they’ll be able to get to a “perfect design” on the first try, and the faster you’ll be able to move through the design stage.
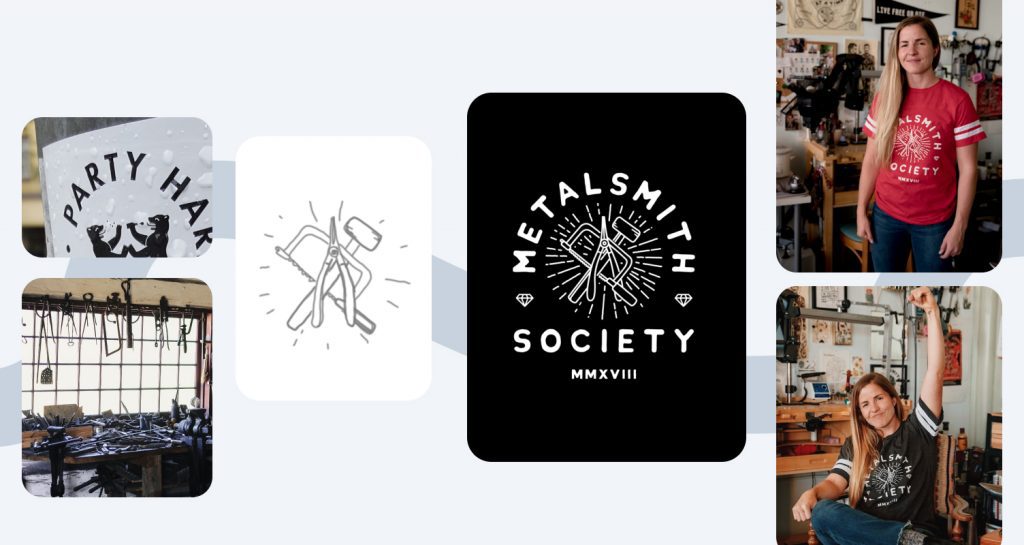
When you complete your Bonfire Studio Design Brief form, we provide design examples that you can click through. You will select some of your favorites to help us gauge the design style and fonts that you prefer.
Write Your Brief
Once you know the list of design guidelines and have collected necessary image files, you need to write your design brief. A design brief can be as organized and complex, or as causal and straightforward as your designer allows. Every designer has their own system.
With Bonfire, customers complete a step-by-step form that collects all the necessary information for us to create a shirt that the customer will like. You will then work with a Studio representative to finalize your brief. While typically we can use responses from the design brief form as-is, we sometimes need more information from clients to clarify their design ideas. If a Studio representative needs to, they will reach out to you with some followup questions to ensure your design is just right. The biggest thing to keep in mind is that it’s best to over-communicate any ideas you have.
Once your design brief has been finalized with your Studio rep, your designer will get to work creating a design based on your brief.
Review Your Design
When your designer creates their first round of designs, they will likely send file proofs to you to review. Every designer’s process is different, but with Bonfire Studio we will send you design options within about 1 week. When these files arrive, it’s important to set aside time to review them. If the final design needs to be approved by any other parties, this is a great time to bring them into the loop.
While you’re reviewing the designs, find a way to annotate the design to specify anything you want changed. You can do this digitally, or by printing out the file and marking it up. This will help keep communication clear between you and your designer.
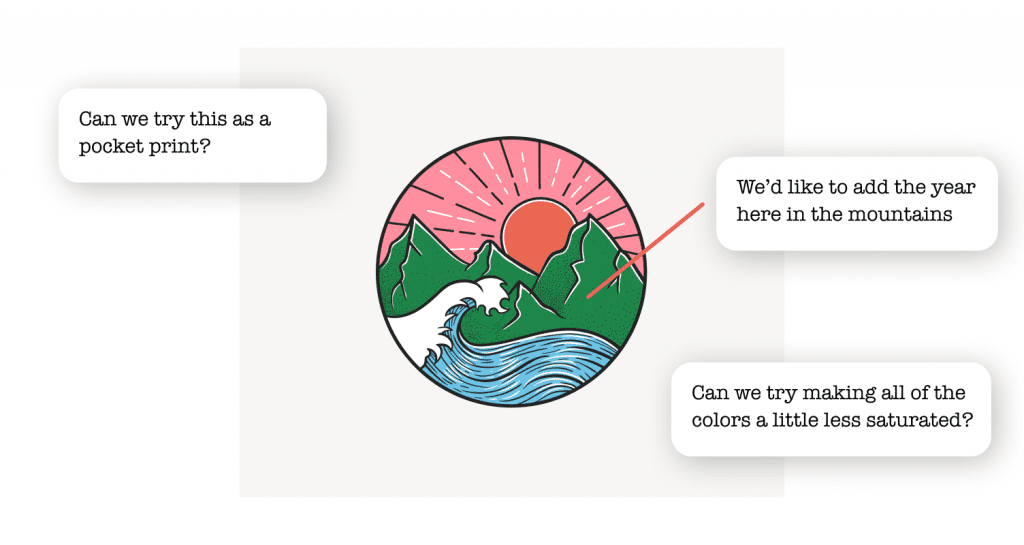
As you provide feedback, try to be as specific as possible about what you want to see altered. For example, don’t simply say that “something’s off”, name what isn’t working for you. If you don’t like the font, say why so that your designer can more quickly find an alternative font to fit your needs.
Remember to make sure that all words are spelled correctly, and all dates are correct as well. If you’ve been looking at it too long, you may even want to get someone else to look it over just to catch any small errors you may have missed.
Finalize Your Design
Your designer will take your design feedback, make alterations, and then send you back your final design to move forward with. If you choose to work with Bonfire, we make this step even easier by uploading the design directly into the Bonfire t-shirt design tool for you. From there, you can select your apparel styles and colors, set up your campaign or order, and more. Your final review is your last chance to look at your design before it goes to print – so make sure it’s ready!
Working with a designer to create a custom t-shirt design can either be a complete timesaving success, or a stressful failure. After years of working with thousands of clients on custom designs, we’ve found that the biggest difference-maker is the amount of time and effort you put into the design brief process. The more thought you put into your design process in the front end, the easier and faster the rest of the process will go.
We hope our tips will help you build a better brief for your next t-shirt design.


