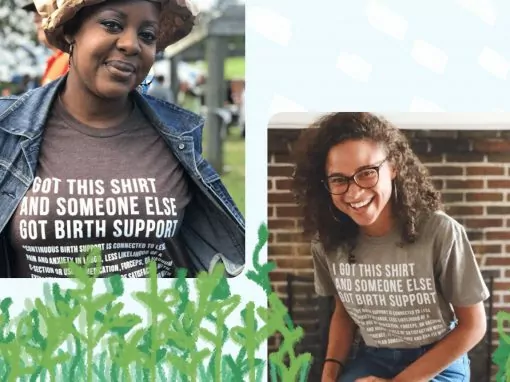
If you are participating in a Bonfire peer-to-peer t-shirt fundraiser for your favorite nonprofit – this comprehensive Team Captain guide is for you! We’ve pulled together everything you need to know to be an awesome Team Captain, run a successful peer-to-peer fundraising campaign, and reach (or hopefully surpass) your fundraising goal.
Setting Up Your Fundraiser
Launching a peer-to-peer fundraising campaign on Bonfire is simple. Chances are, the nonprofit you’re fundraising for has already worked with Bonfire and has done most of the heavy lifting for you, so you should be able to hop in and get your campaign up and running quickly.
Sign Up to Be a Team Captain
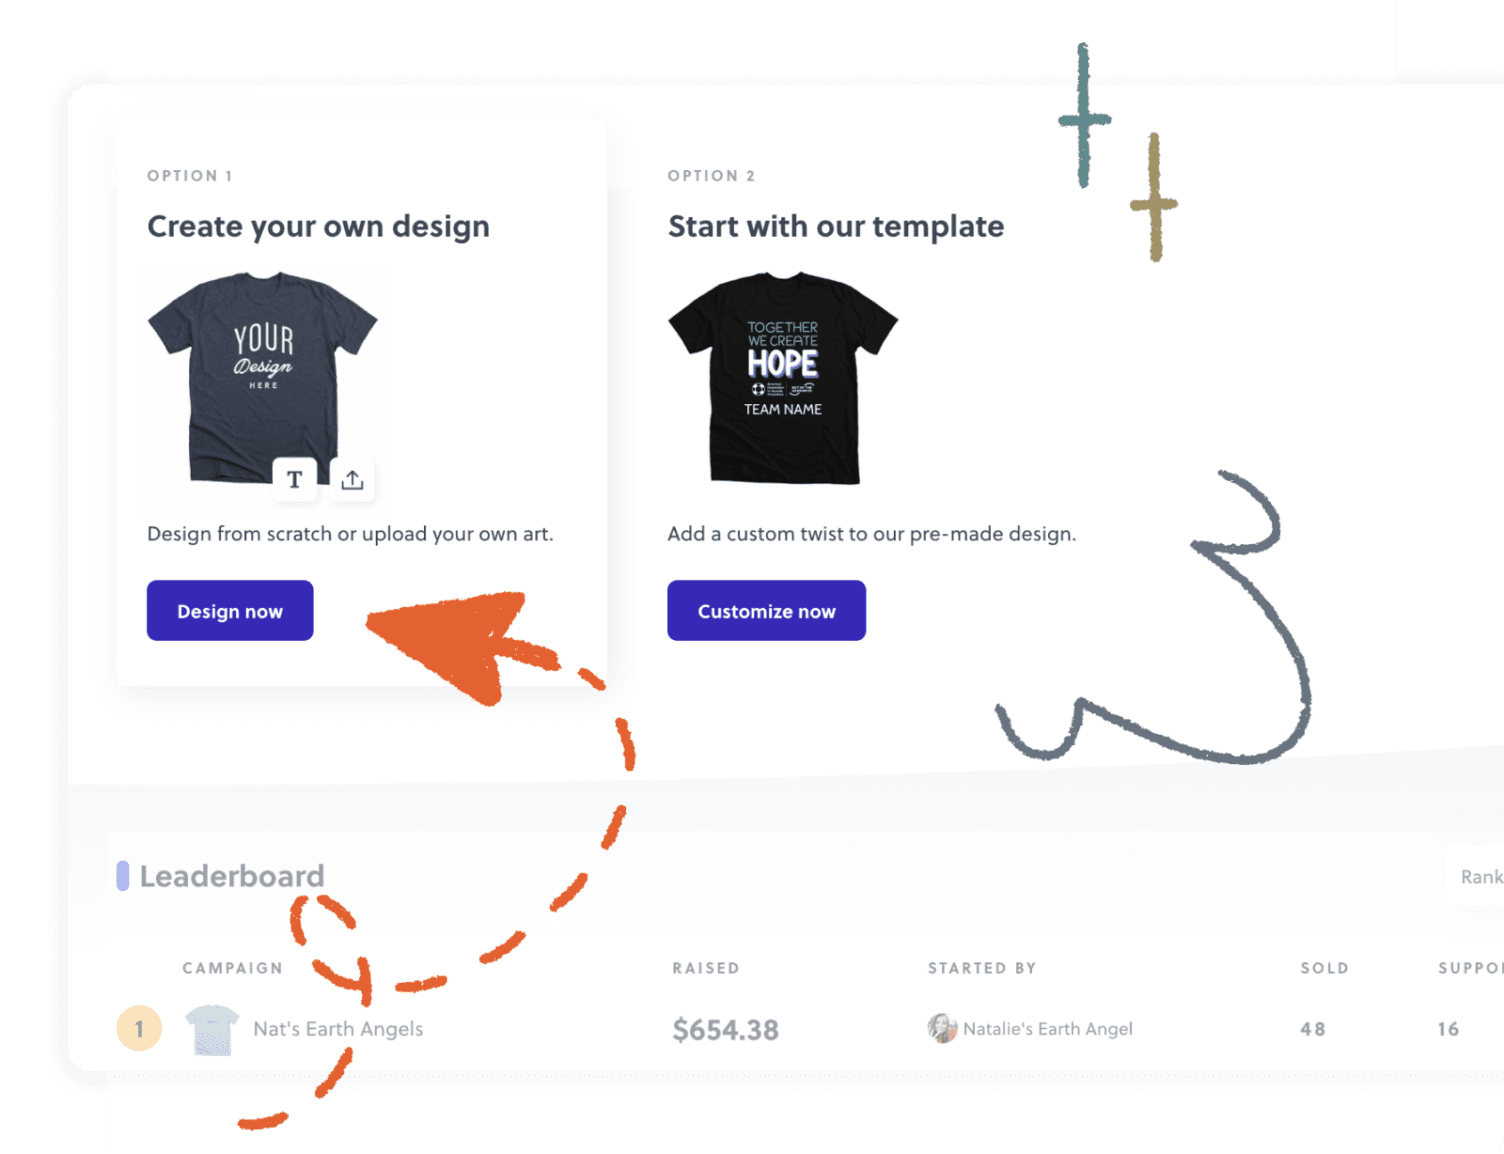
Most likely, you’ve been sent, or have access to, the organization’s event page on Bonfire. On this page, you’ll find all of the official details about the event. Click the “Design Now” (or “Customize Now”) button to become a Team Captain and start working on your campaign. You’ll then be prompted to sign in or create an account. Once you’re logged in, you’ll be able to start designing your shirt.
Design Your Shirt
In many ways, the design of your shirt is predetermined by the organization you are fundraising for. Depending on their preferences, you’ll either create your own design, or start with their design template.
Create Your Own Design
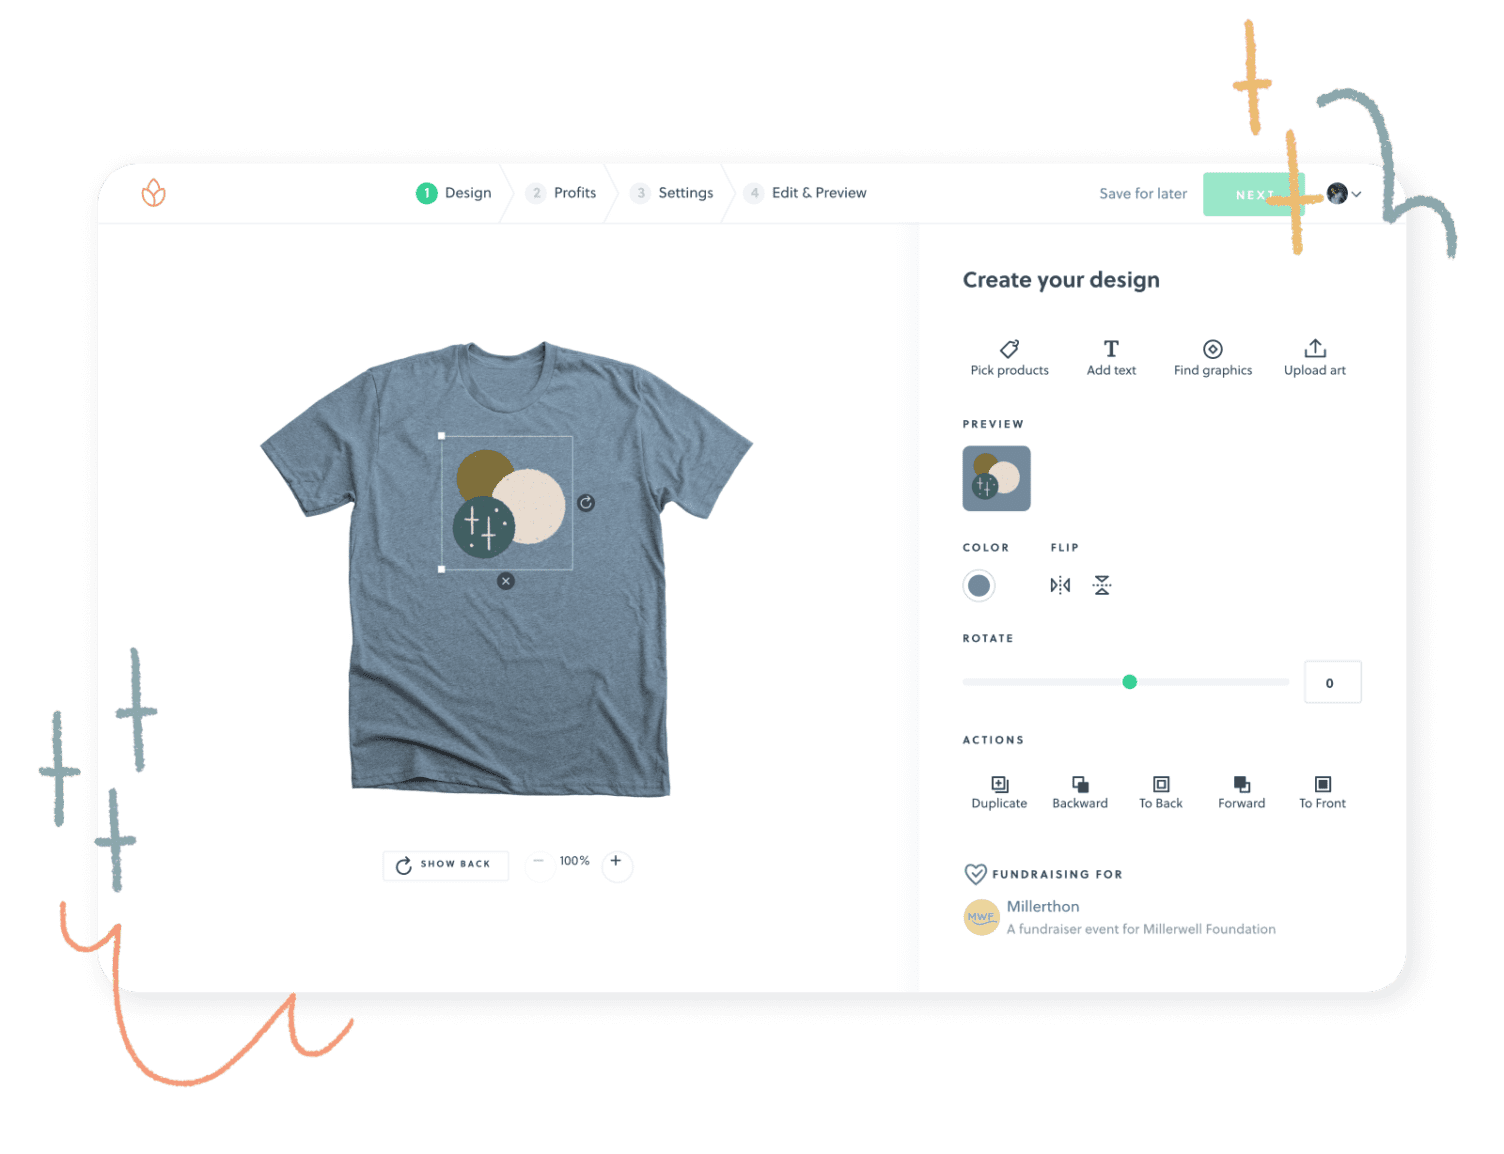
If the organization has okayed Team Captains creating their own designs, you will be able to customize your shirt from scratch. You’ll have access to all of our design tools and will be able to pick your own products and colors to offer. Having creative freedom when it comes to the design of your shirt really allows you to showcase your unique reasons behind WHY you are fundraising for this organization.
Spend time with your ideas to make sure your design to make sure it feels authentic and personal. Is there a particular person you would like to feature in your design, or a team name you want to highlight? Or perhaps you would like your design to reflect what the organization means to you, your family, or your community.
Sometimes, organizations will lock in certain design settings to maintain a certain level of brand cohesion. This might mean that they have narrowed down your product selection or decided on a specific color scheme for you to use in your design.
Whether you have complete creative freedom, or you’re working within an organization’s guidelines, you are creating a purposeful and meaningful design that is unique to you.
Start With a Design Template
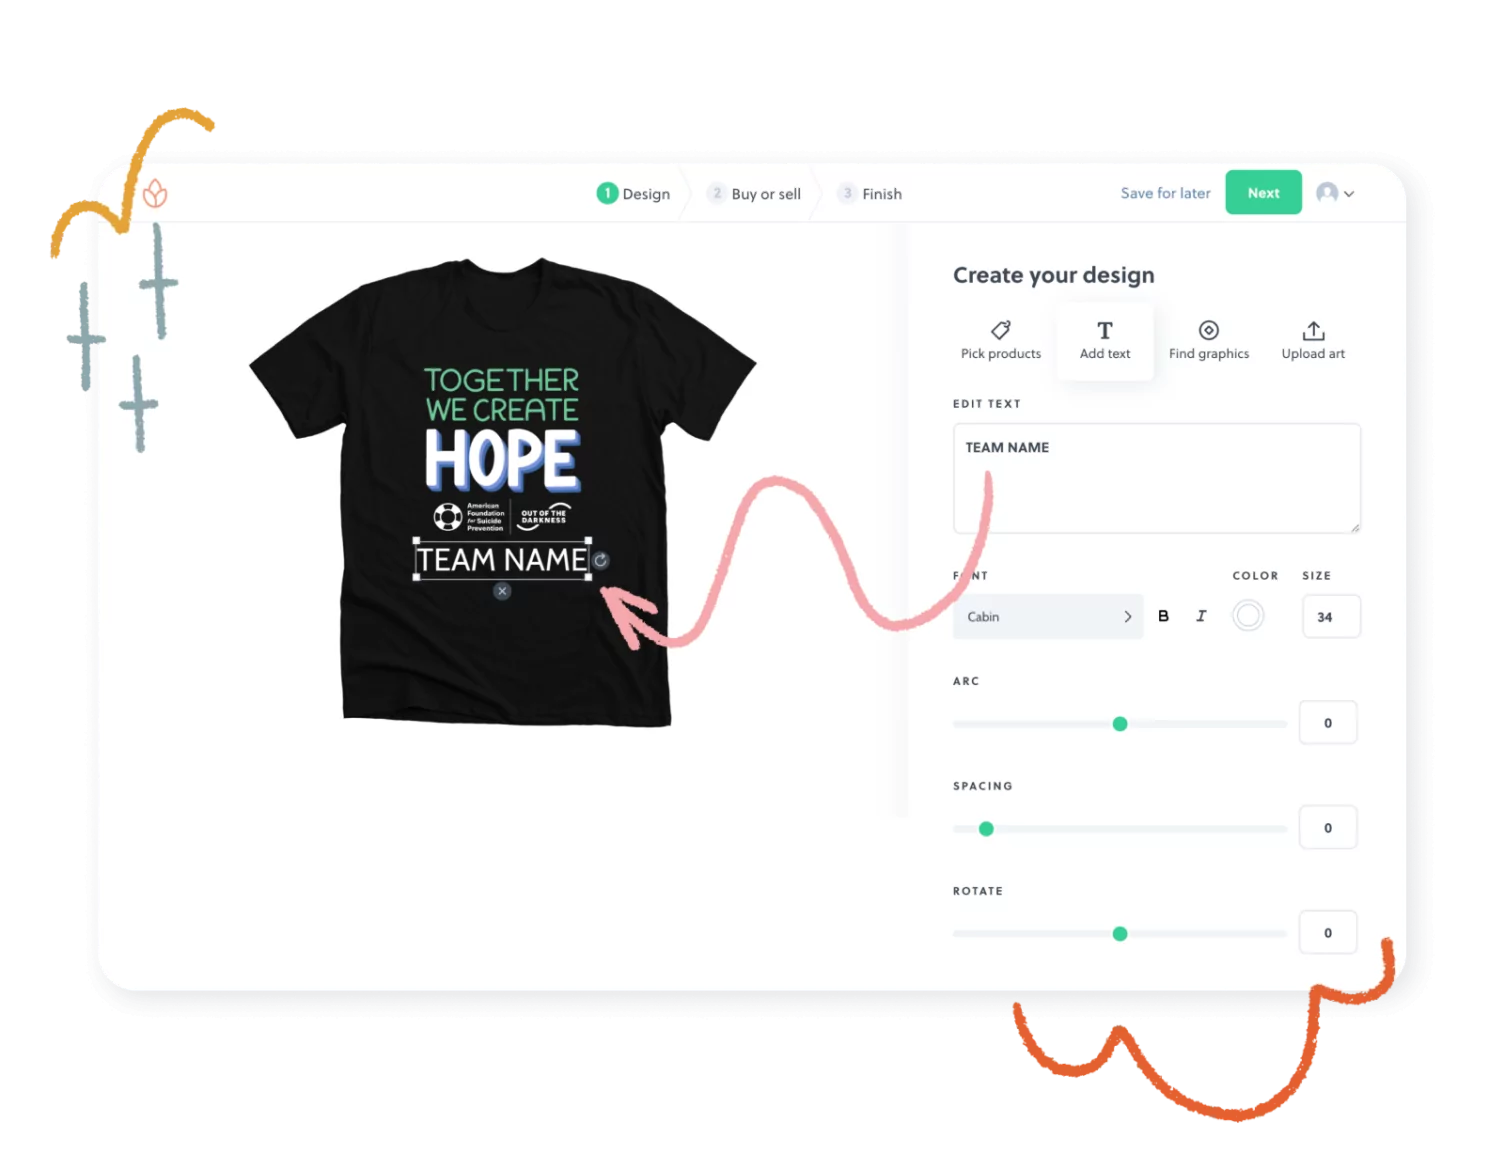
Some organizations choose to have Team Captains use specific design templates for their shirts. If this is the case, most design choices have already been made for you with one or a few areas that you are able to customize.
Typically, organizations choose to use design templates to keep consistent with their overall branding and event marketing. Templates also make the design portion of the process a breeze. Depending on the specifics set by the organization, you might be asked to customize a phrase, a team name, or choose from a curated selection of product colors. Not having to design your shirt from scratch means you can launch quicker and focus on promoting your campaign.
Select Your Products
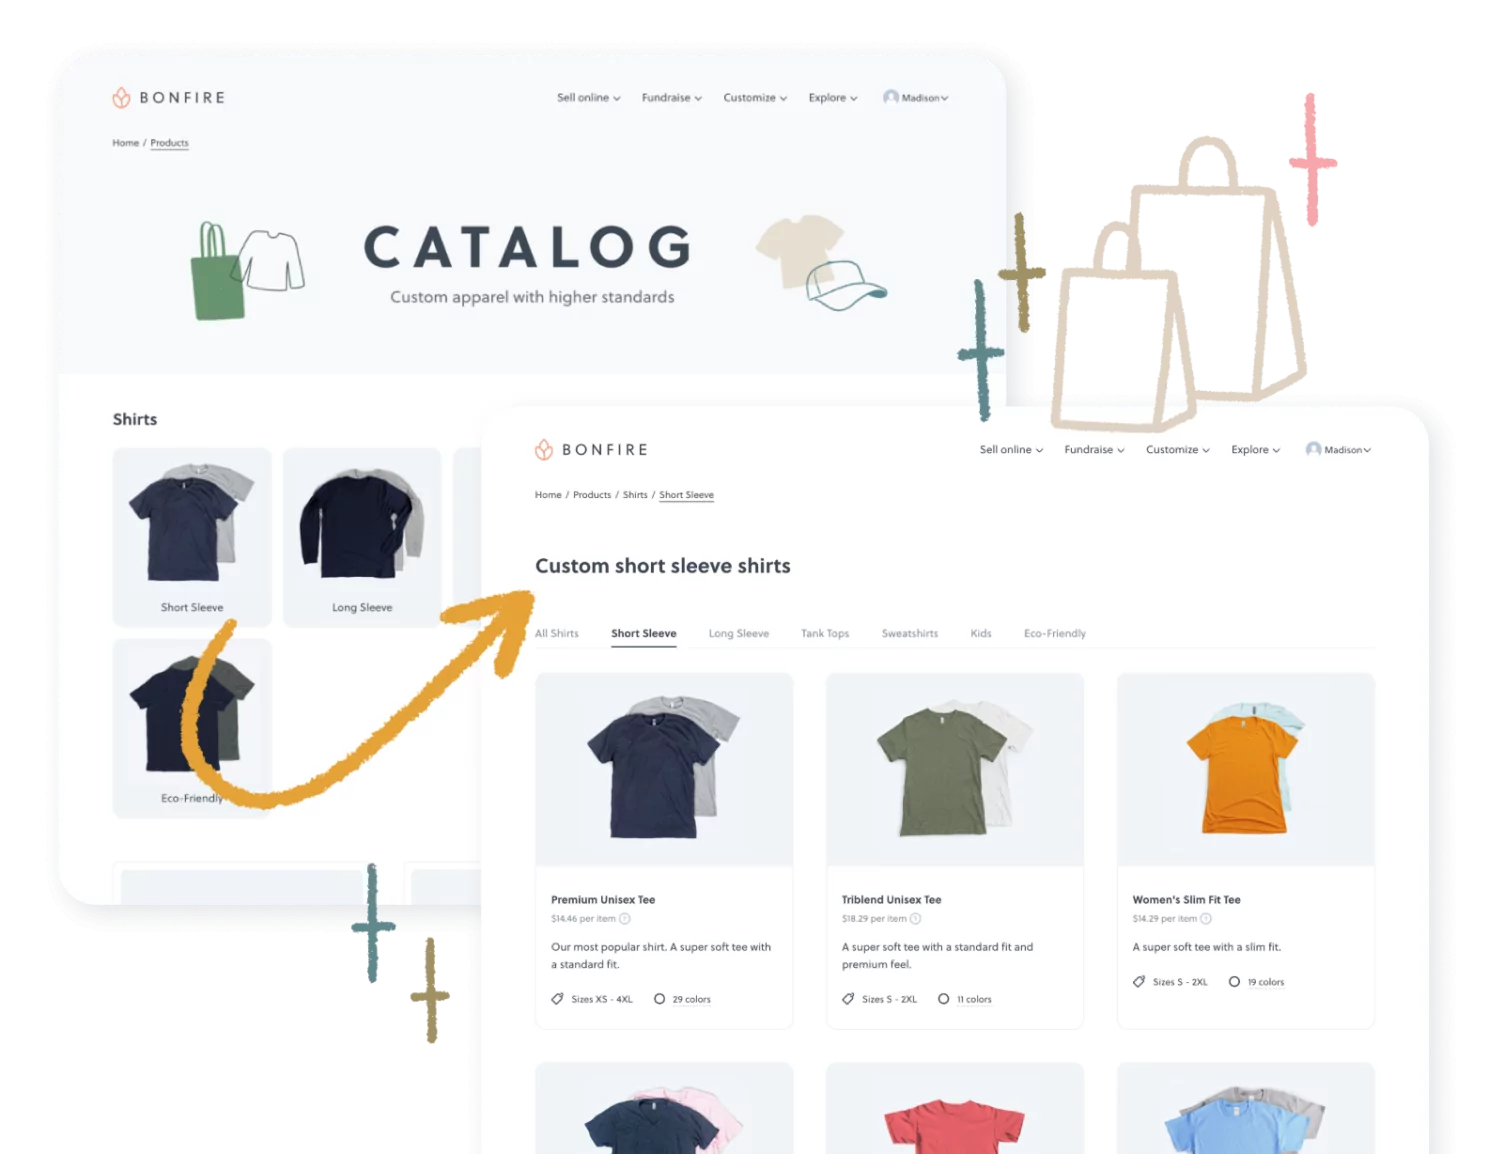
Once your design is all set, you can choose the apparel styles and colors you wish to offer by browsing our product catalog. Depending on the preferences of your organization, they may have set specific colors and styles for you to use.
Set Your Prices
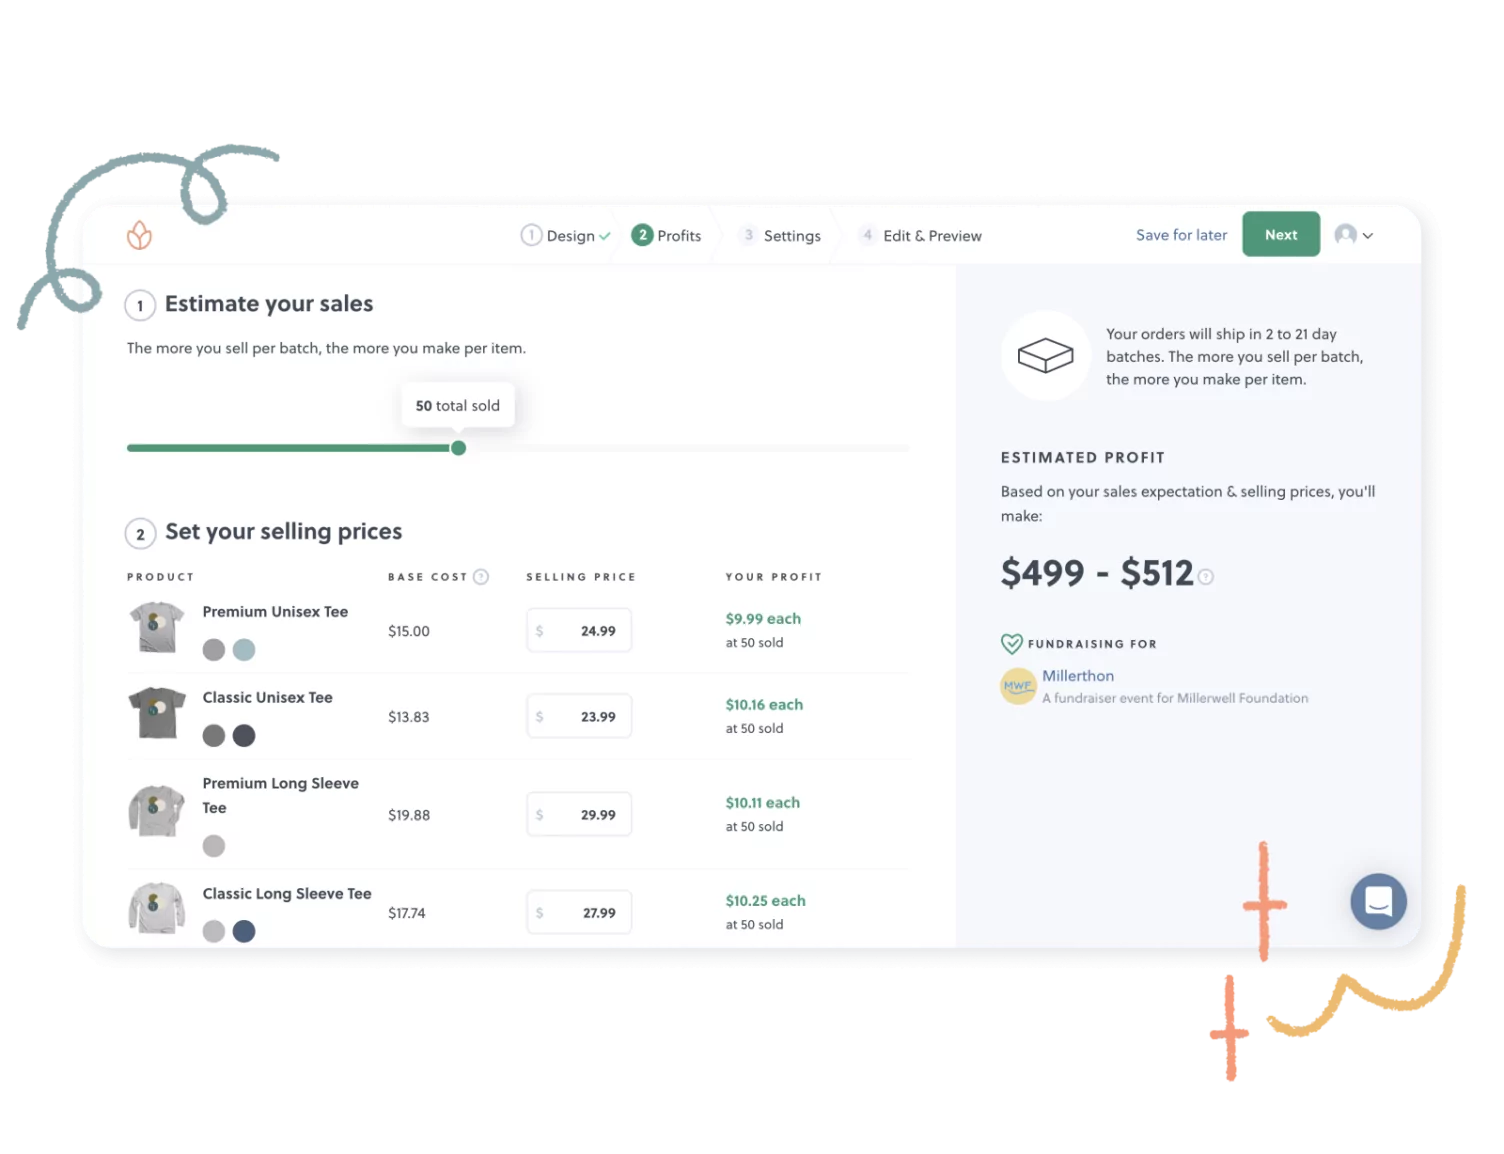
The next step is to set the selling price for each of the products in your campaign. The initial cost you see listed for each item is our recommended selling price. These recommended prices hit the perfect balance between raising the maximum funds and what price a buyer is ready to pay. You can adjust these numbers to fit your audience and fundraising expectations. Your organization also has the option to set a standard price structure for all campaigns.
Customize Your Campaign Page
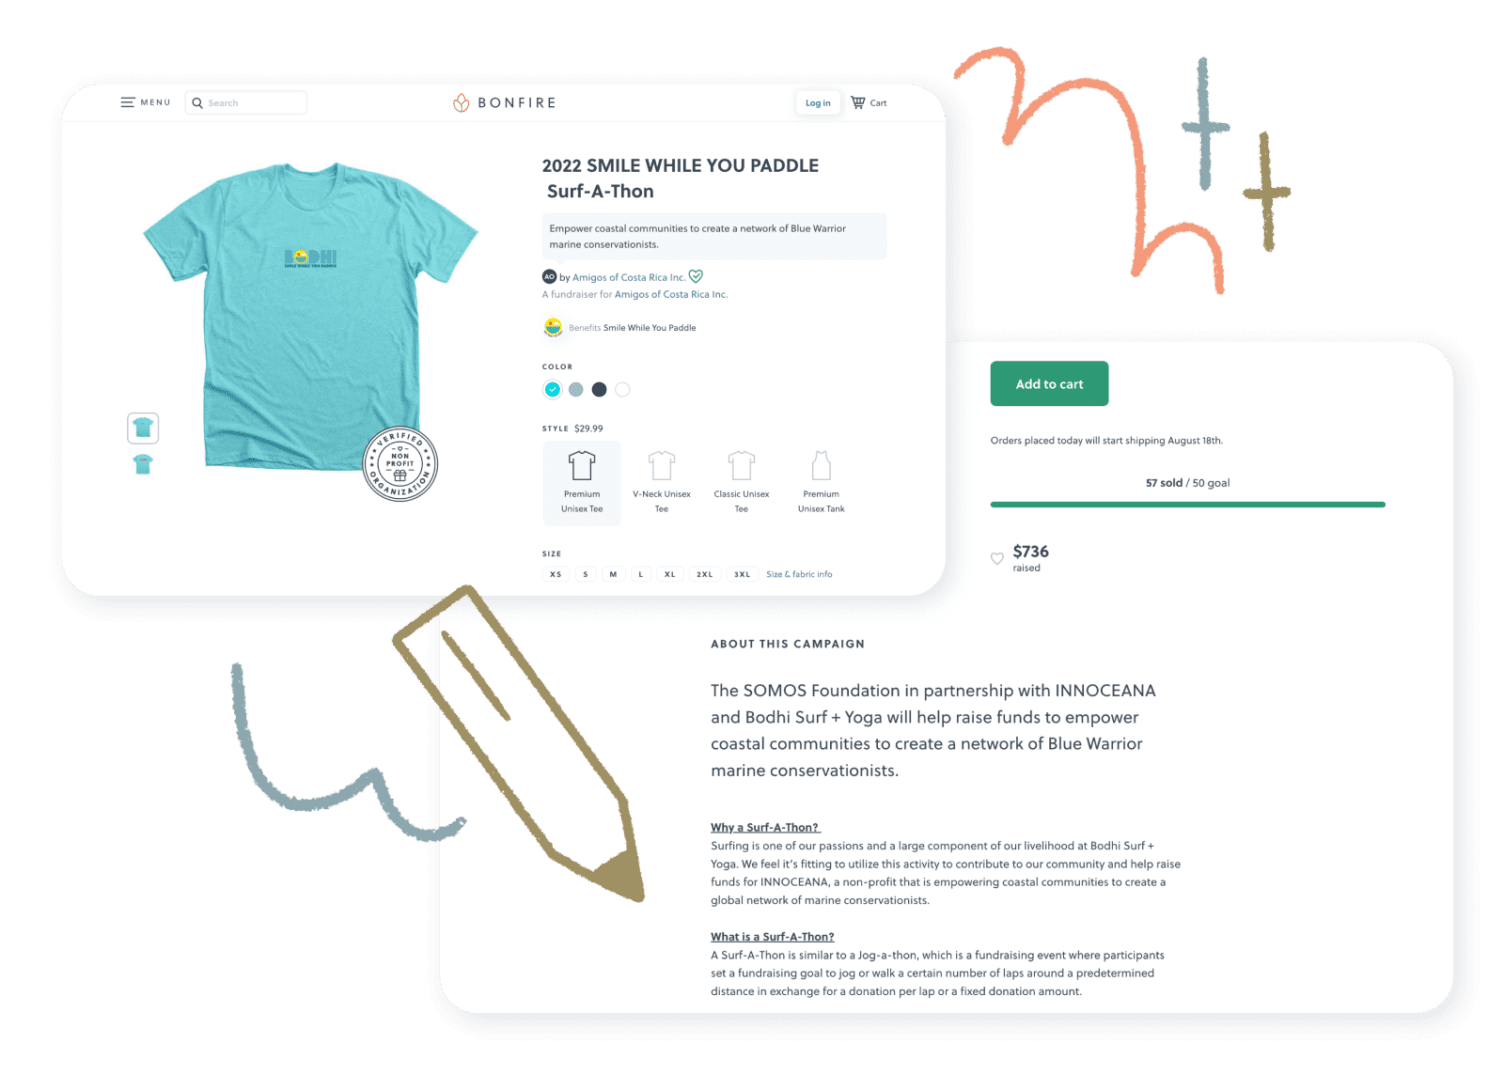
Now for the really fun part – once your designs, product styles, and colors are all finalized, it’s time to customize your campaign page. This is where you can share your story, talk about why you decided to participate in this fundraising campaign, and why this cause matters to you. You can also add photos and videos to the campaign page to enhance your story even more.
Since your campaign is linked to the organization’s official event page, your campaign page will prominently display who you’re fundraising for so your community can learn more about the cause and the organization itself. If they want to know more about the organization you’re donating your funds to, they can click on the green heart next to the name of the nonprofit to see the location, EID, and verification status of the organization.
Helpful tip:
Including fundraiser information in the description tagline and ‘About this campaign’ section of your page helps to provide buyers with even more information and helps to further legitimize your fundraising efforts.
Launch Your Campaign
When your campaign page is complete, it’s time to launch your campaign and start selling shirts to your community. When the campaign ends, we handle all processing and shipping and will mail all purchased products directly to your supporters. We will also send 100% of the campaign proceeds directly to the organization you’re fundraising for.
Promoting Your Campaign
The best way to guarantee a successful peer-to-peer fundraising campaign is to share and promote it to your community. The sooner you start promoting – the better. This section of the guide will help you learn the best promotion practices so you can reach your fundraising goals with ease.
Helpful tip:
If you plan on running your campaigns for multiple batches, repeat this promotional checklist for each batch. Feel free to get creative as you find new ways to promote your fundraiser to your community.
Before You Launch
Set yourself up for success by preparing a plan before hitting “launch”:
- Establish how many batches your Bonfire campaign will have. With Bonfire’s Smart Launch feature, your campaign will automatically relaunch at the end of your first batch. If shirts need to be printed and shipped in order to be worn for a specific day or event, you will want to make sure your community knows the last day they can purchase to ensure an on-time arrival.
- Create engaging visuals to promote your fundraiser. We highly recommend ordering a shirt ahead of time to use for marketing your campaign. Snap photos of members of your community wearing the shirts so that you have visuals for promoting your campaign.
When You Launch
Take some time to create a promotional plan for the entire length of your campaign:
- Announce the launch of your campaign to friends and family on social media, on other fundraising sites you are already utilizing such as Classy, and through text or email newsletters.
- In these announcements, make sure to explain what you’re fundraising for. Your story is what will motivate your community to support you. Include a photo that shows the products you are selling and a link to the campaign page.
- For platforms such as Instagram, feature a link to your campaign in your profile for visibility and easy access for your supporters. We recommend using a link-in bio tool like Linktree so you can link to your profile across all of your platforms. Then, you can use our free Linktree integration to display and sell your merch directly from your profile.
Helpful tip:
To learn how to manage your Linktree integration, check out this article.
Mid Campaign
Keep your community engaged throughout the duration of your campaign by varying the content you share along the way.
- Instagram and Facebook are great platforms for promotion – don’t forget about Facebook Live, Instagram Live, and Instagram Stories & Reels, they are quick and easy ways to post reminders about your campaign.
- Continue to share the story behind your campaign and your personal connection to the organization you are fundraising on behalf of.
- Highlight a specific shirt style, or color of the products in your campaign.
- Vary the visuals you use to promote your campaign by using different photos of your products. Make sure you share some photos where the product is being worn by a person and some photos that solely feature an up-close look at the design.
- Update your audience on the progress of your campaign and let them know how close you are to reaching your goals.
- Use the Leaderboard section on the organization’s main event page as a way to excite and motivate your supporters. The more supporters your campaign gets, the higher your campaign could move up the list, and hopefully you could reach number one! Everyone loves a little friendly competition.
Before Your Batch Closes
Make the most of the last days of your campaign – oftentimes these can be the largest sales days.
- Make a final push on social media, but also through more personal channels such as through text and email, to let people know there is still time to support your campaign.
- Emphasize that this is the last chance to get a shirt if you do not plan on relaunching your campaign for another batch, or if this is the deadline for on-time arrivals for a specific date or event.
- Thank your supporters for their involvement thus far. Express your gratitude while communicating the impact their purchase has made on the cause you are fundraising for.
As Products Arrive
Once products start arriving, take advantage of the natural momentum it will cause!
- Utilize a specific hashtag for your fundraiser and encourage your community to share photos of themselves in their new merch.
- On platforms that enable easy content sharing such as Facebook and Instagram, share these photos of your supporters in your apparel on your personal pages.
- If buyers need customer service, let Bonfire handle it! Our Customer Success team takes care of any sizing or delivery concerns so you can stay focused on fundraising. Tell your buyers to email us directly at support@bonfire.com if they have any issues!
Helpful tip:
The most important part of your campaign is sharing it with your community! The friends and family in your circle are the ones who will become your biggest supporters. Share your story, mission, and campaign with them on Facebook and Instagram, through text and email, and in person when you see them. Wherever you have a presence, share about your campaign!
We hope this comprehensive Team Captain guide has helped you feel confident and ready to fundraise on behalf of your favorite organization. Let’s get started on your peer-to-peer campaign today.

Written by: Hayden Ireland / Content Specialist
Illustrated by: Madison Summers / Lead Marketing Designer


