There are many factors to consider as you begin to dream up your t-shirt design. You could have a great image on the screen, but will it translate well when it’s printed on a garment?
Preparing your design for printing is an important part of moving your masterpiece from computer screen to shirt, and it can make or break how your merch turns out. The Bonfire Design Team works every day to make sure that the vision you have for your t-shirt comes to life in an amazing way! With years of t-shirt designing experience, we’ve collected our top tips for optimizing your design file for printing. By following this guide, you’ll create a design you’re proud of and a t-shirt that will soon become your community’s new favorite tee.
T-shirt Design File Best Practices
As you begin creating your design, it’s important to keep these specifications in mind:
- Your design file shouldn’t exceed 10MB
- Your image should be at least 1500px x 1500px
- The design shouldn’t have more than 8 colors (we’ll talk about why below)
- You shouldn’t use any copyrighted or trademarked material. Make sure your design is completely your own, or that you have the rights to use/sell the design.
- Your file should be either .ai, .png, .jpg, .pdf, or .eps
- A transparent background is ideal.
Ink Sheen and Thickness
There are many t-shirt printing methods out there that can be used for printing on apparel. Bonfire uses a few different methods to print our t-shirts. Factors like the number of tees being printed, the amount of colors used, and design elements all play a role in determining which method is best for your design.
When creating your design, it’s important to keep in mind that some methods can have a heavier hand feel. Screen printing is a print method where each color of ink used in the design is applied separately using a type of stencil. Screen prints can have a certain sheen to them, as well as a thickness. Direct-to-film (DTF) is a digital process where the print goes directly to a film that is then heat-sealed onto the garment. This method can also make the design a bit more firm to the touch.
Deciding how large you want your design to be on the shirt and how sticker-like you want the design to be is completely up to you. It becomes mostly about your preference of how you want the shirt to feel when being worn. Large, sticker-like designs make shirts feel thicker where the print is located and may decrease the fabric’s breathability.
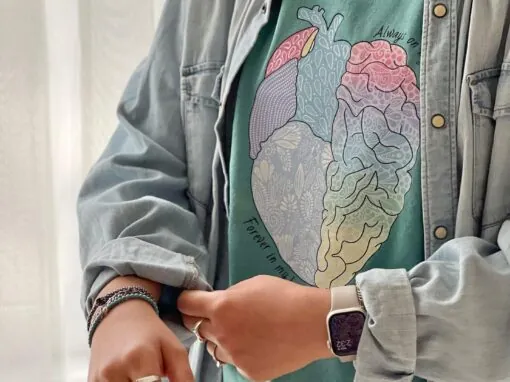
Gradient and Translucency Limitations
To print gradients or translucent elements, you’ll want to find a printer or custom apparel company like Bonfire that offers Direct-to-Garment (DTG) as a print method. This will allow your design elements to print just as you intended. If you’re looking to screen print, you won’t be able to print gradients or translucent elements. In this case, we suggest converting those colors to halftones or choosing a solid color to replace the gradient or translucent element.
Sell custom products online with Bonfire
![]() 100% free
100% free ![]() Easy set up
Easy set up ![]() No inventory required
No inventory required
Pick the Right Colors
Limiting Colors
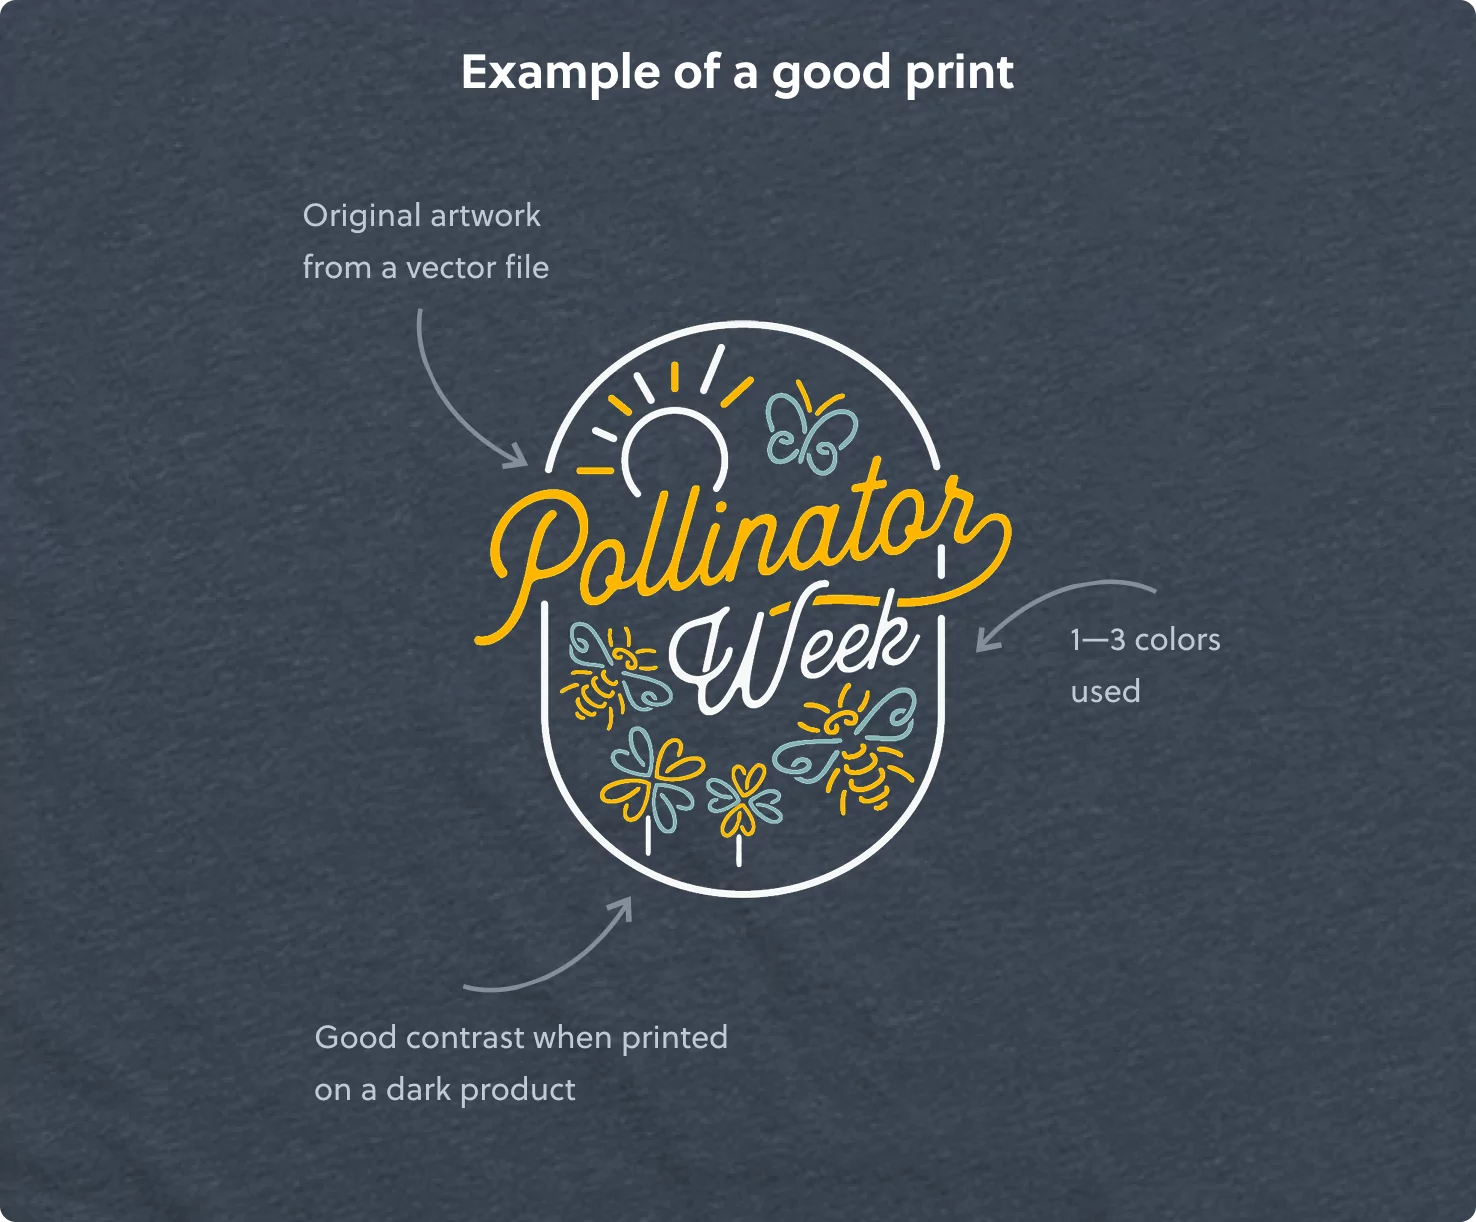
Keeping your color count low will help keep the base cost reasonable for you. We recommend limiting your design to 1-3 colors if keeping your base cost as low as possible is your goal. While Bonfire has a print limit of 8 colors per shirt side, if you have you have a design that is ready to be uploaded and has more than 8 colors, we offer Full Color Printing as an option.
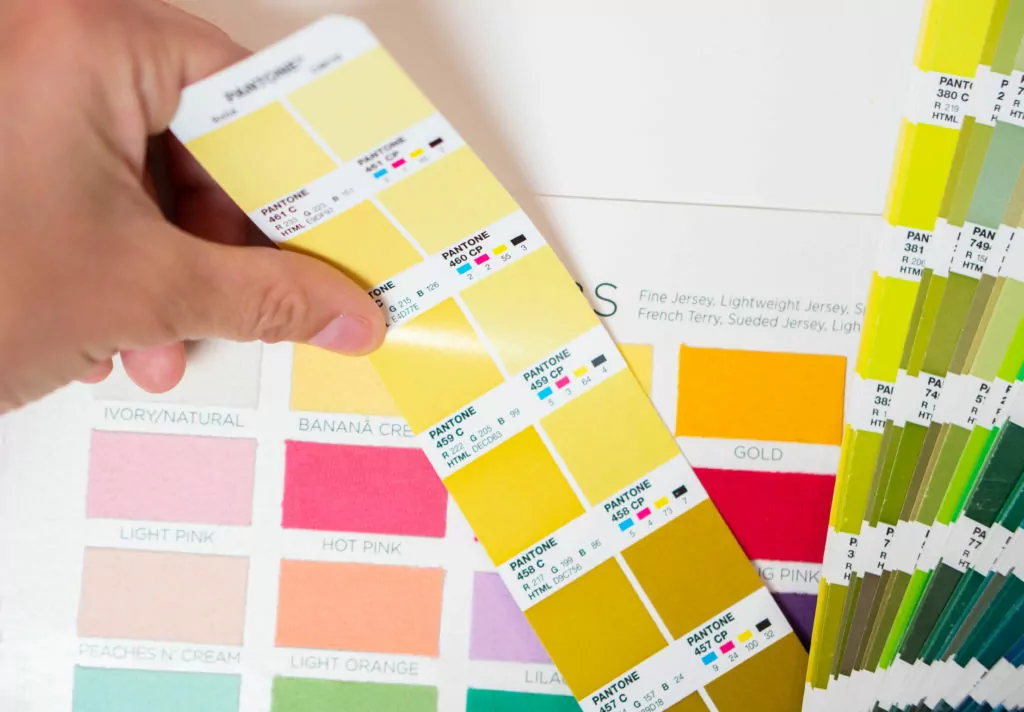
Color Translations from Screen to Shirt
Some print methods use Pantones, whereas others use CMYK. Because of this, there may be slight differences in the colors you choose with the ink used for printing. It’s also important to keep in mind that the color you see on your screen is backlit, which means it may not appear as bright once it’s printed on a shirt.
At Bonfire, we do our very best to match the colors in the artwork you upload to the closest match within our library. If the color in your artwork isn’t in our library, we make sure to color match it to a nearly identical shade.
Incorporate Shirt Colors Into Your Design
Think creatively about your color palette for your shirt design. Save on printing costs by using the color of your shirt as a color in your design. You especially don’t want to waste your money printing white ink on a white shirt or navy ink on a navy shirt. If a color in your design matches the color of your shirt, test removing the color to see what happens!
Upload Print-Ready Files
The type of design file you will need depends on the printer and print method you plan to use for your merch. It’s best to check with them directly to understand their qualifications. But generally speaking, a vector file is the preferred file type.
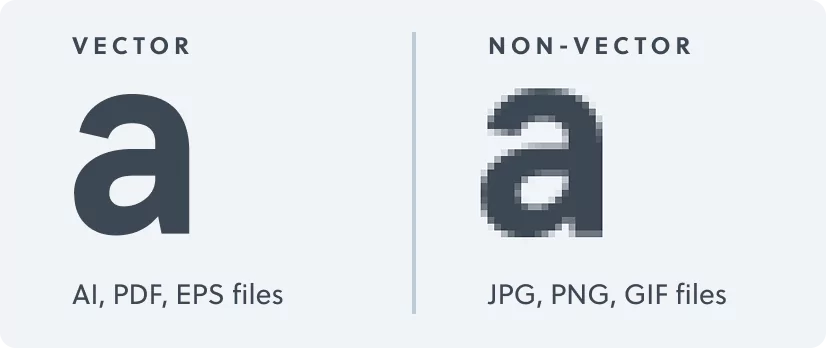
The great news is that if you are using a t-shirt printing platform like Bonfire, you don’t have to have any special design software or know the difference between all the different file types. The best way to ensure no details are changed as we prep your design for print is to upload an editable vector file if you have that on hand. However, as long as you have access to a high-resolution (300ppi) .png, .jpg, PDF, .ai, or .eps file of your t-shirt design, we can take it from there! Check out our Help Center article to learn more about uploading files to our design tool.
If you don’t have a high-resolution file, Bonfire offers a Basic Studio Package, which is a great option for anyone who has an in-progress design but would like to improve the quality of their artwork to make it print-ready.
Uploading Photos
While we don’t typically recommend using photos for a t-shirt design, DTG printing will be your best option to print a photo on a shirt. This will allow the photo to be printed clearly without details getting lost in translation. Screen printing isn’t ideal when it comes to printing photographs since so few colors can be used. Often, details are missed, and the print comes out quite blurry.
Scans of Drawings
Like photos, drawings should be printed using DTG as the “pencil” texture is often lost in screen print. With a Basic Studio Package, you can work with Bonfire’s expert design team to make sure your design is print-ready. Or, maintain control over the rendering of texture and overall final product by digitizing your design yourself before sending it to your printer or uploading it to an apparel site like Bonfire.
Upload Files with No Background
To ensure your design prints as intended, we always recommend making the background in your design file transparent. The file types that allow for transparent backgrounds are .pngs and .ai. This will allow your shirt design to look professional and clean once it’s printed on the garment. While you can easily remove the background in professional software such as Adobe Photoshop, there are also a ton of free options. For example, Adobe Express is a free software that allows you to remove the background from an image.
You can also look for t-shirt printing sites that offer design assistance or design tools. Often, these sites will allow you to remove a background while you’re creating a design within their site.
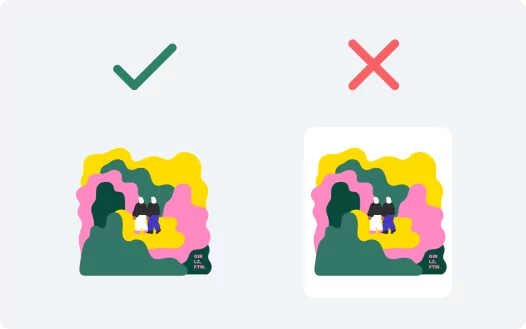
Ensure Your Text is Readable
It’s important to make sure that the text and fonts on your shirt are readable. The best way to check the readability of your design is to try to read the words on each color shirt you are selling on your Bonfire campaign page. If there’s a certain shirt color option that seems to be camouflaging your text, consider switching out that shirt color for one with more contrast.
Create Contrast Between Your Ink and T-Shirt Color
One of the best ways to ensure your text is visible on the shirt is to create a strong contrast between the ink color chosen for the text and the shirt colors you are printing on. We recommend printing dark ink on light shirts and light ink on dark shirts. Two combinations to avoid are printing a colored ink on the same color shirt, and bright/neon inks on bright/neon shirts.
Text Size
It’s also possible to print your text too small, to the point that it’s only readable to someone standing right in front of the shirt. We suggest keeping your text at least a ¼ inch in height to ensure that letters print clearly. When drawing, just make sure your lines are at least 1 point size or above. And again, when printing very delicate design elements and text, choosing shirts that contrast with the ink color will also help ensure that everything is visible.
Like any creative medium, t-shirt printing has a unique set of parameters of use. But, once you learn how it works, you can design your community’s new favorite t-shirt! If designing a t-shirt overwhelms you, check out our collection free t-shirt templates, or request a custom design through Bonfire Studio, and our team of talented designers will help bring your idea to life.
Ready to jump right in?
Start making your own premium custom merch for free on Bonfire.
FAQs and Troubleshooting
What is the best file format for t-shirt printing?
We recommend using a vector file for your t-shirt design, rather than a raster file, if you have access to it. This type of file will allow your image to retain its quality, no matter the size. Bonfire’s design tool allows you to upload .AI, .EPS, .PDF, .PNG or .JPG files. Check out our Help Center article to learn more about uploading files to our design tool.
How can I convert my design to a vector file?
To save your design as a vector file, you’ll need a design editing software with vector file capabilities like Adobe Illustrator, Photoshop, Inkspace, or CoralDRAW. If you don’t have access to this type of software, you can work with a Bonfire designer in a Basic Studio Package to finalize your design into a print-ready vector file.
My design is a .PNG or .JPG and I don’t want to download a new software to convert it to a vector file. What can I do?
In this case, make sure to find a custom merch company that will ensure your file is ready for print for you.
In the Bonfire Design Tool, you can upload AI, .EPS, .PDF, .PNG or .JPG files and see your design on a t-shirt! Bonfire’s expert team of designers will review your design to ensure the file is optimized and ready to be printed.
How can I create a design if I don’t have design software?
There are many tools out there to help you create your masterpiece! If you’re looking for a free option to create a design, Bonfire’s Design tool allows you to create your own design using clipart and text. If you need some inspiration, Bonfire’s templates have got you covered! The great part is, once the design is completed, you’re able to view your design on the exact product you want to print on.
If you need any help creating a more intricate design, check out Bonfire Studio packages to work with a designer and bring that vision to life!
How do I decide what print method is best for my design?
You’ll want to make sure to take into consideration your design’s elements, the size of the design, and how many t-shirts you’re looking to print. The great news is, when working with a company like Bonfire, we take care of this for you! Our team will choose the best print method for your campaign or custom order, and ensure your file is ready for print.
Written by: Katie Davis
Illustrated by: Tess Miller